https://drive.google.com/open?id=1UCUngLwES4nCEgihFGfskuVvHG3Gj_Mu
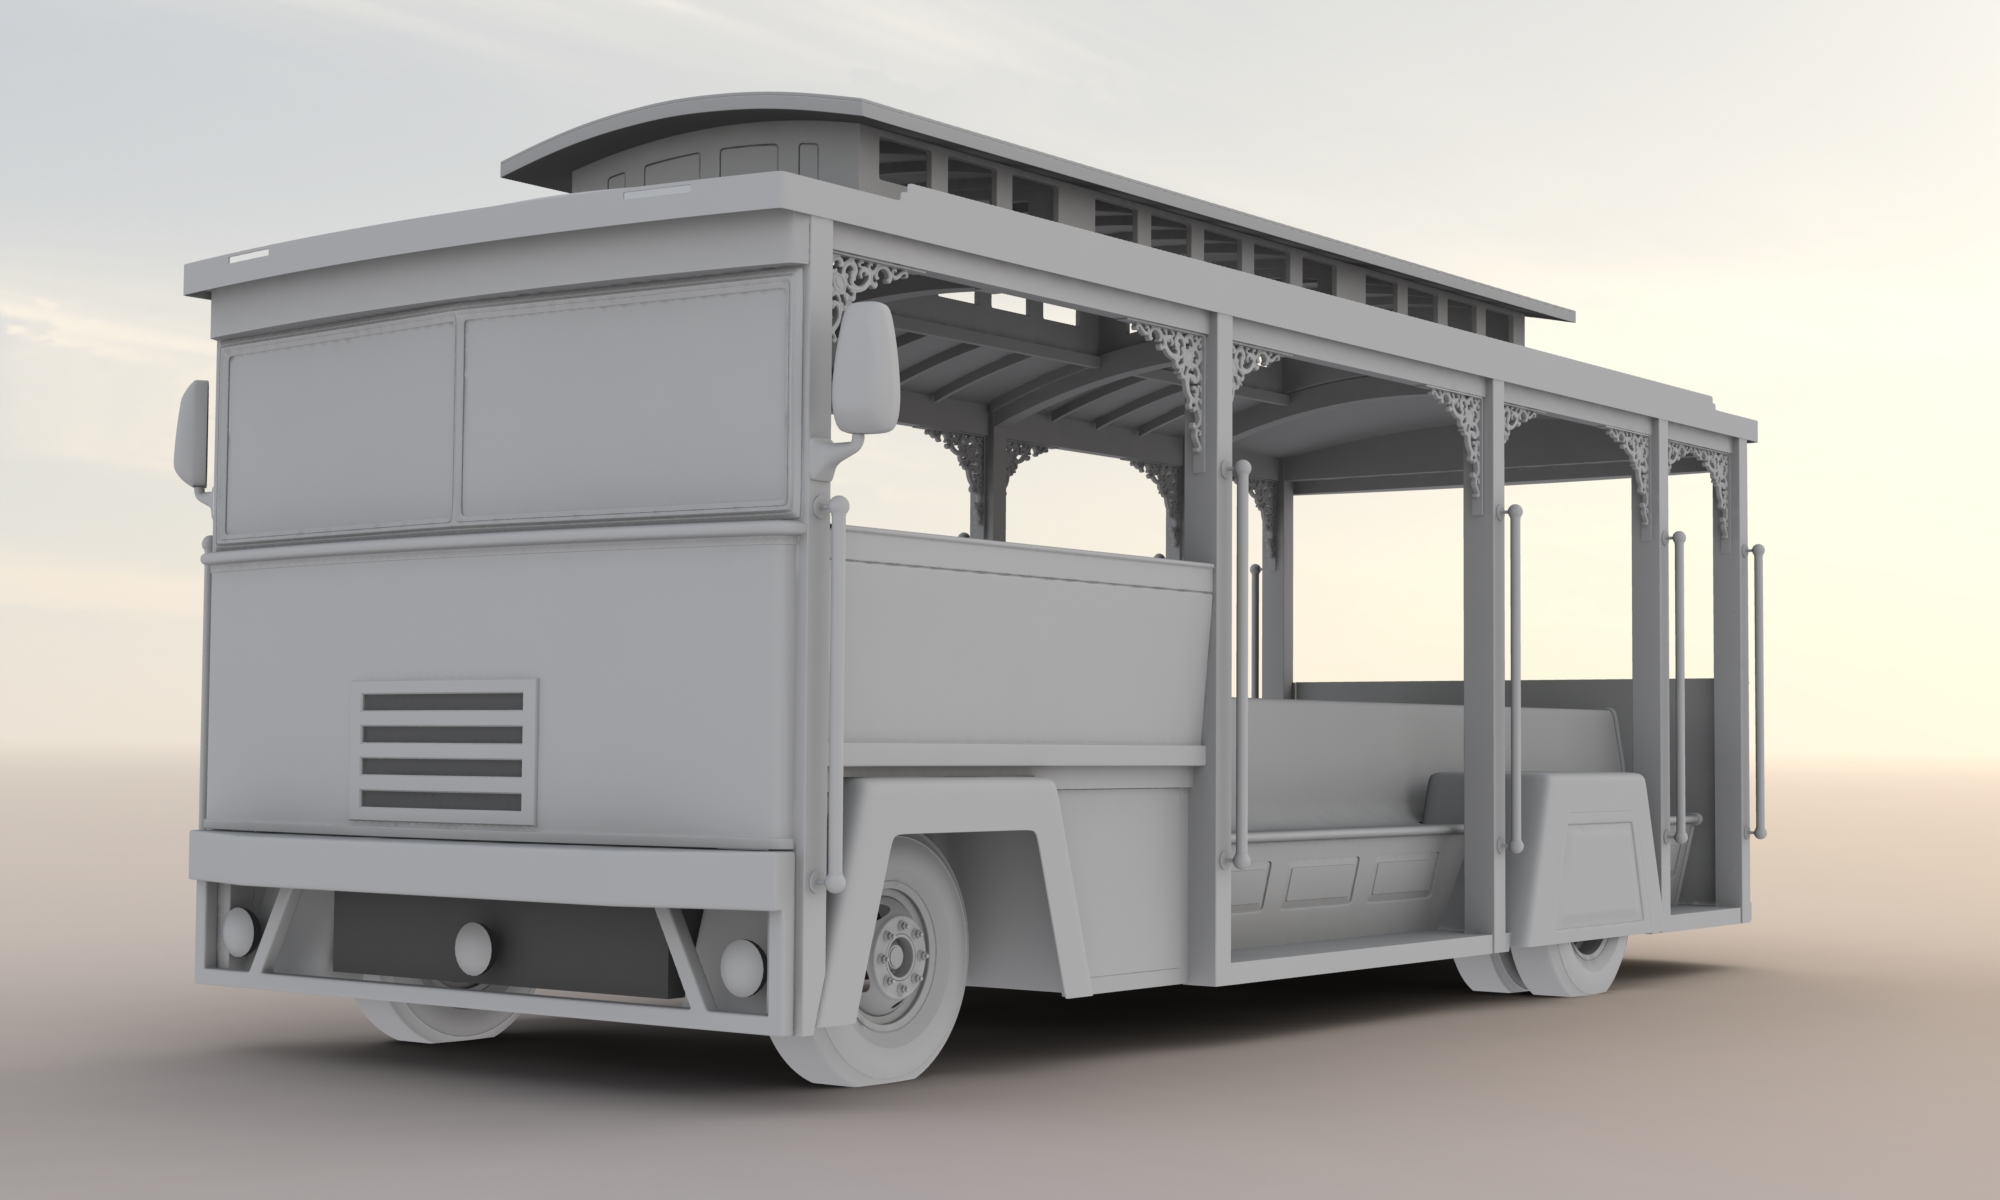
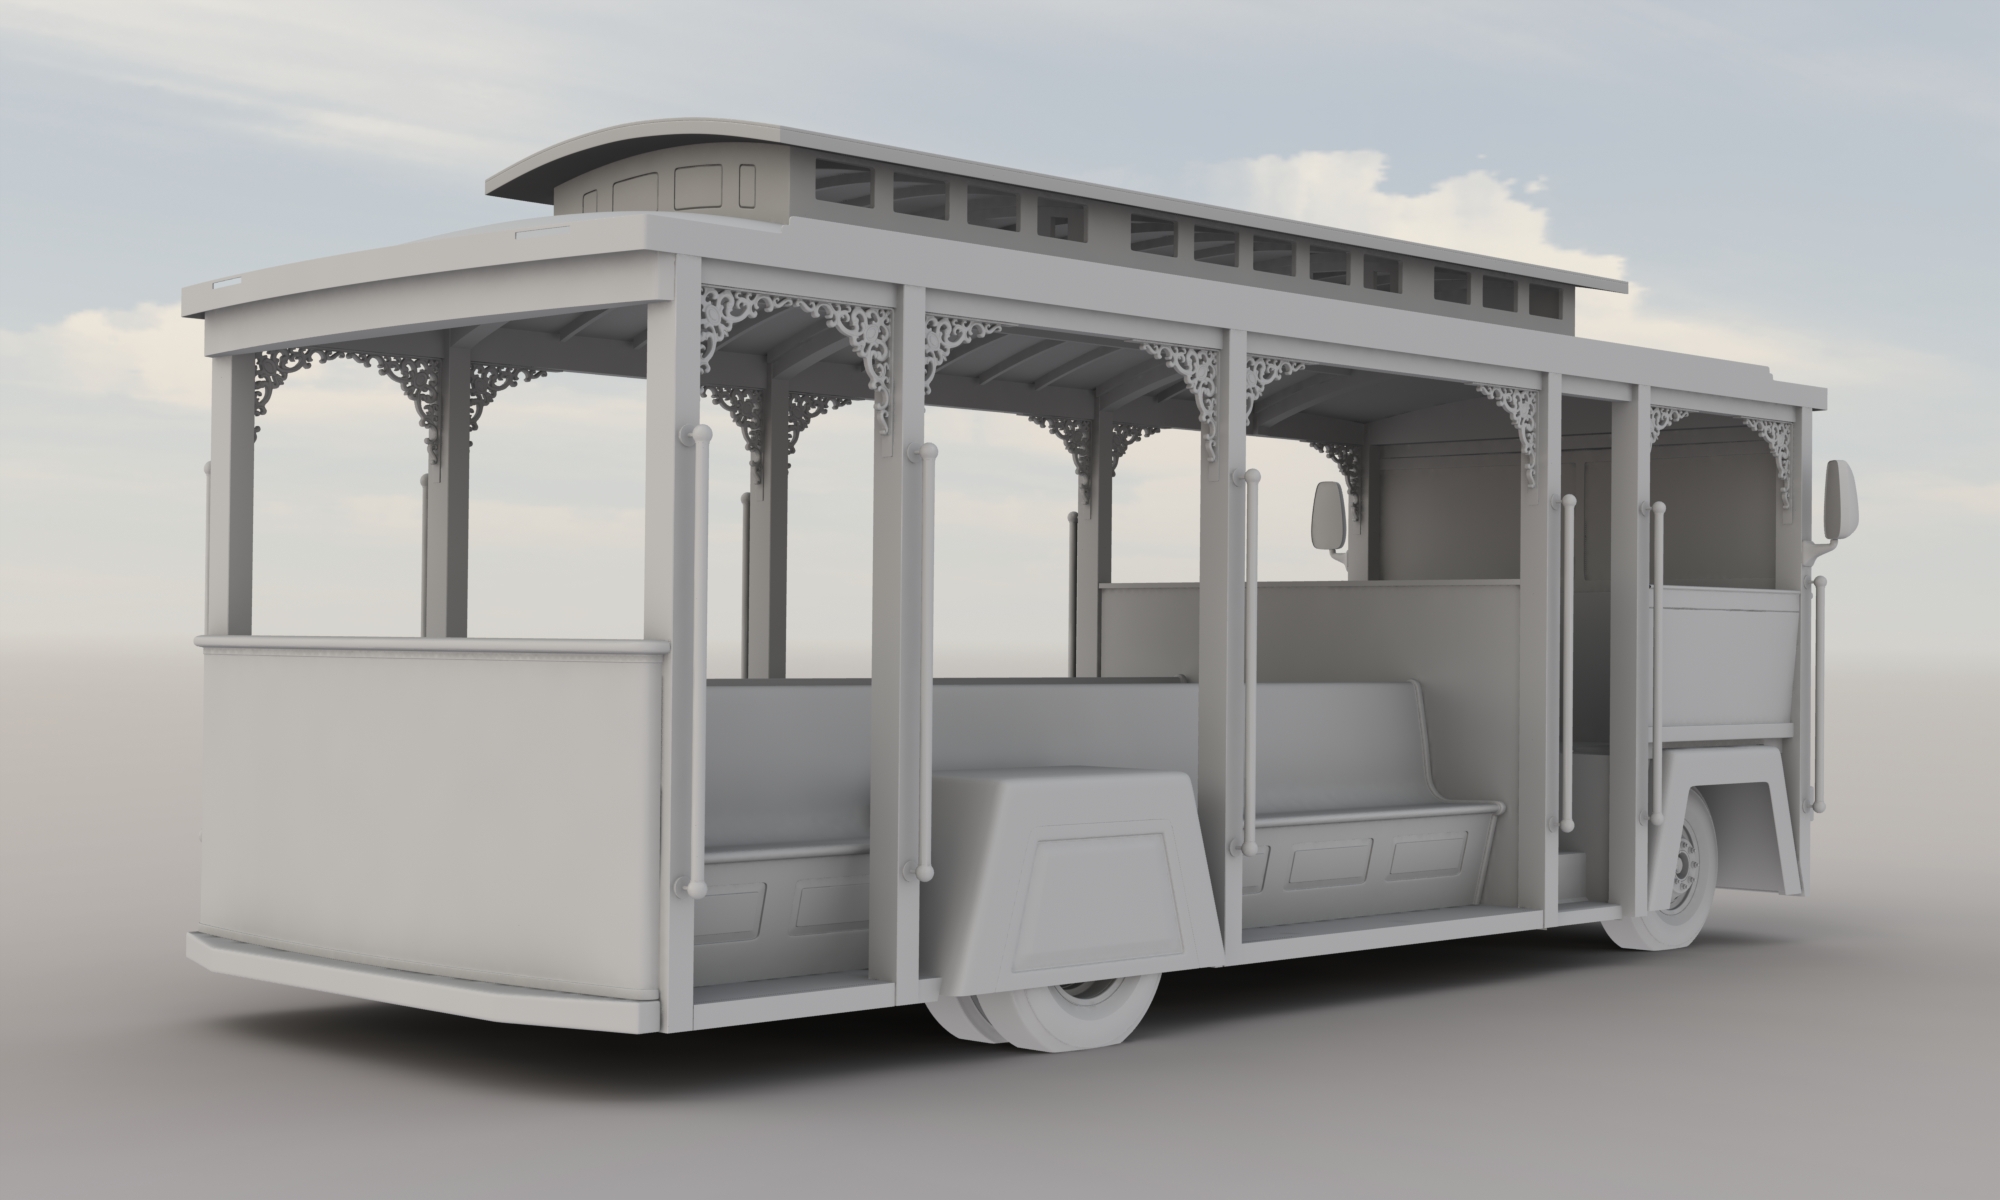
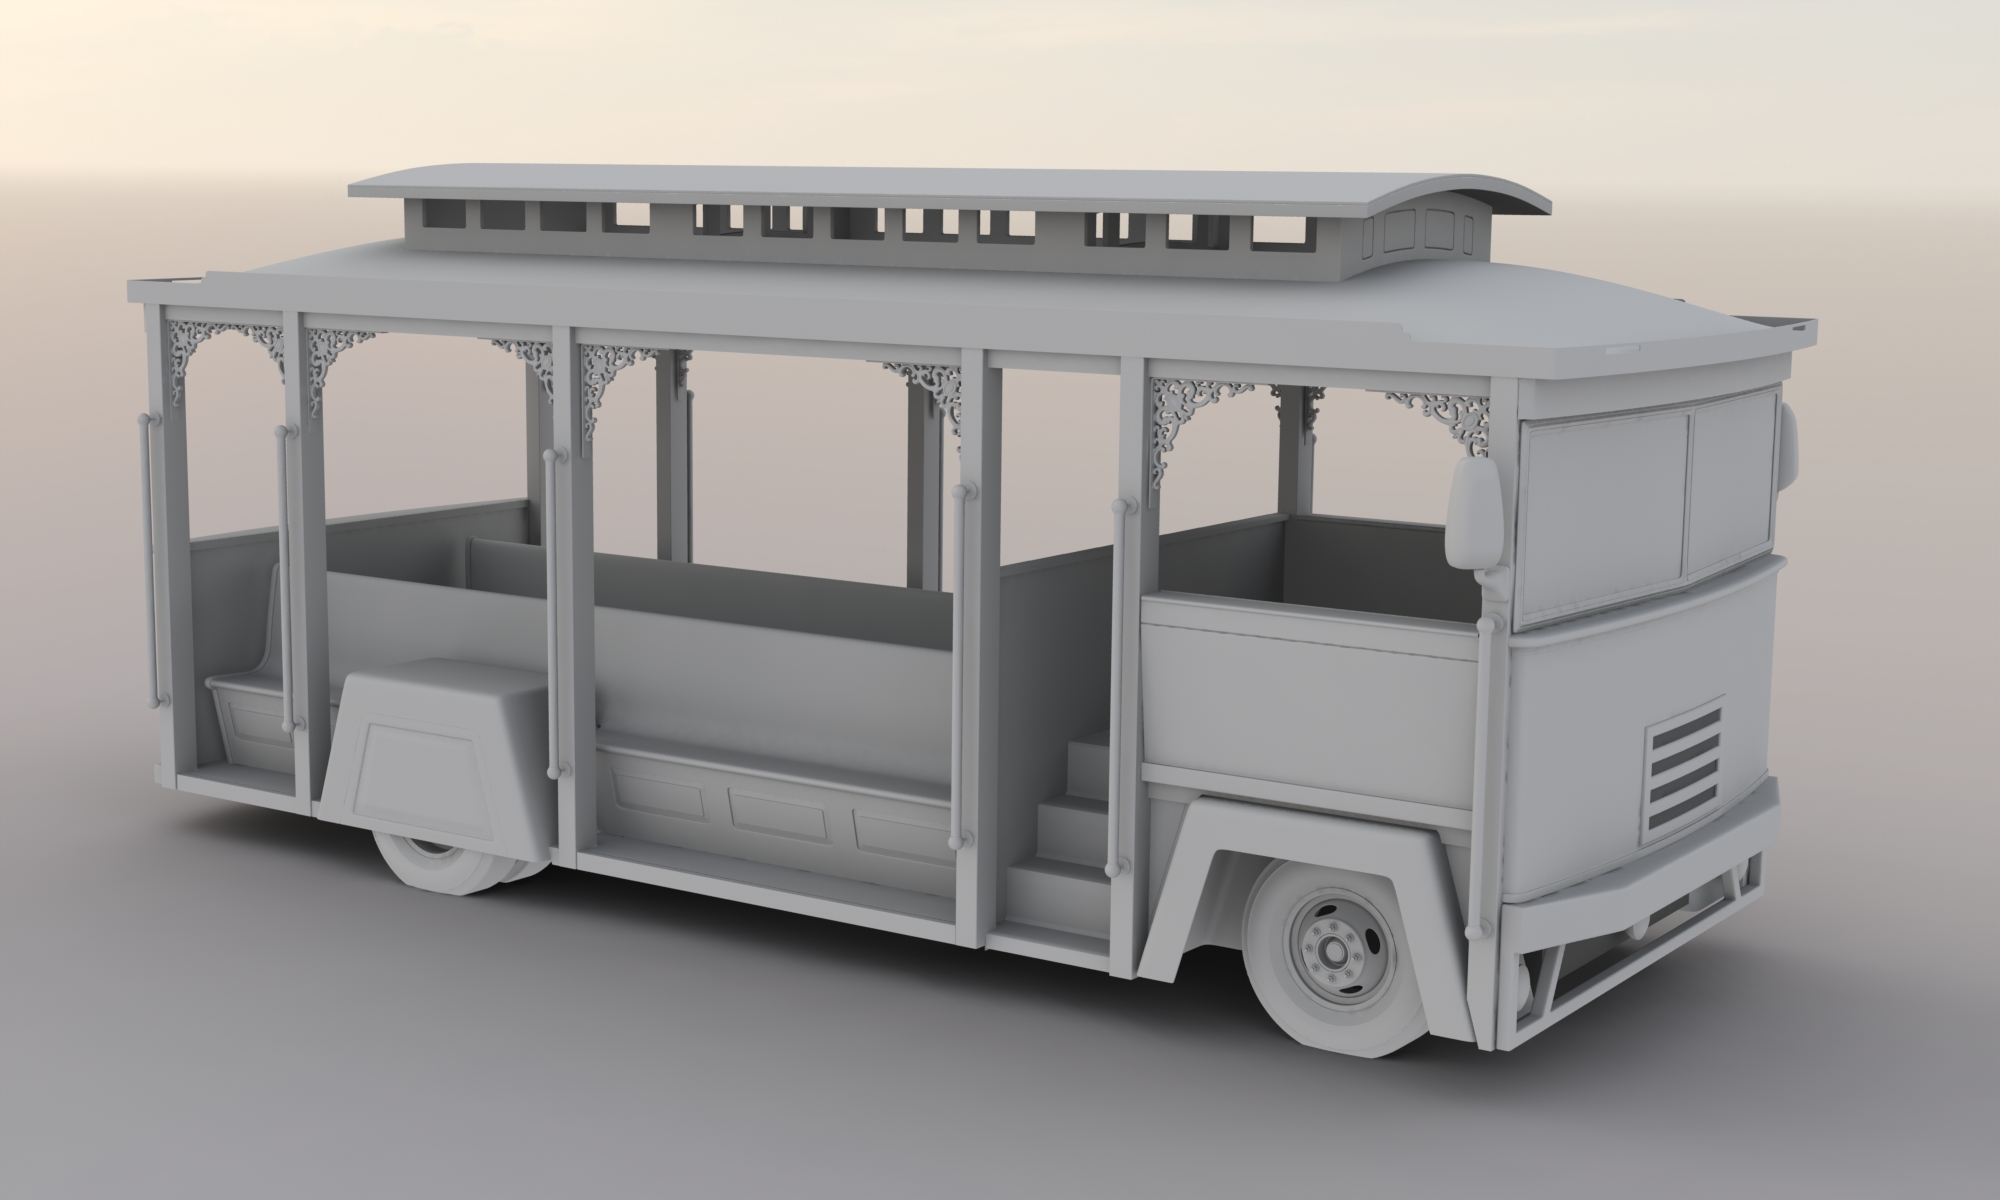
We've completed the 3D model of the Fashion Island Trolley for Classic Trolley of Medford, Oregon. This was quite an ideal project, definitely something we hope to do more of at Dynamic Arts. Here are a few of the final images.
Recently I was contacted by Classic Trolley in Medford, Oregon because they needed some realistic renderings of a custom trolley they are building for a customer. At this point I'm fairly close to being finished with the modeling, and when I'm done there I'll jump into texturing and that'll really bring this thing to life. It's been a really fun project… here are a few test renders.
I've nearly completed another "aerial illustration," this time it's the Rogue River from Lost Creek Dam down to Gold Hill. Being a former resident of the Rogue Valley, I know this area fairly well. Lots of fond memories!
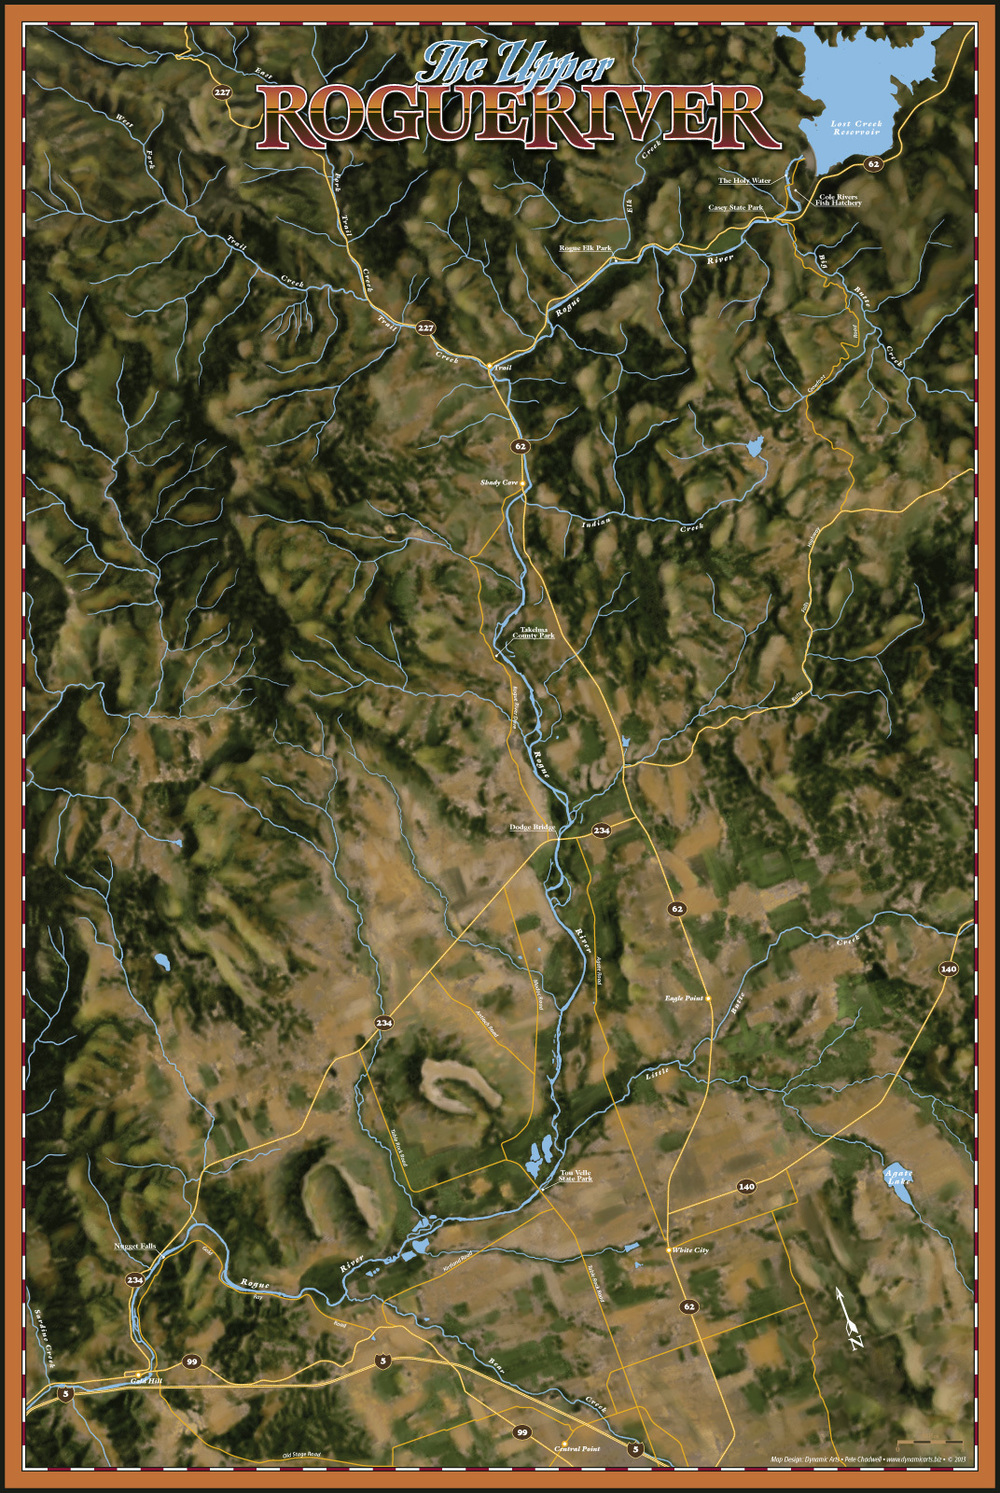
Every year I produce about 100 illustrated maps of fly fishing destinations for three magazines, Northwest Fly Fishing, Southwest Fly Fishing and Eastern Fly Fishing. I've been doing this since 1999, when the publisher launched the premiere issue of Northwest Fly Fishing. It's been a good "gig" for me in a variety of ways, and I've come to appreciate landscapes from a bird's eye view.
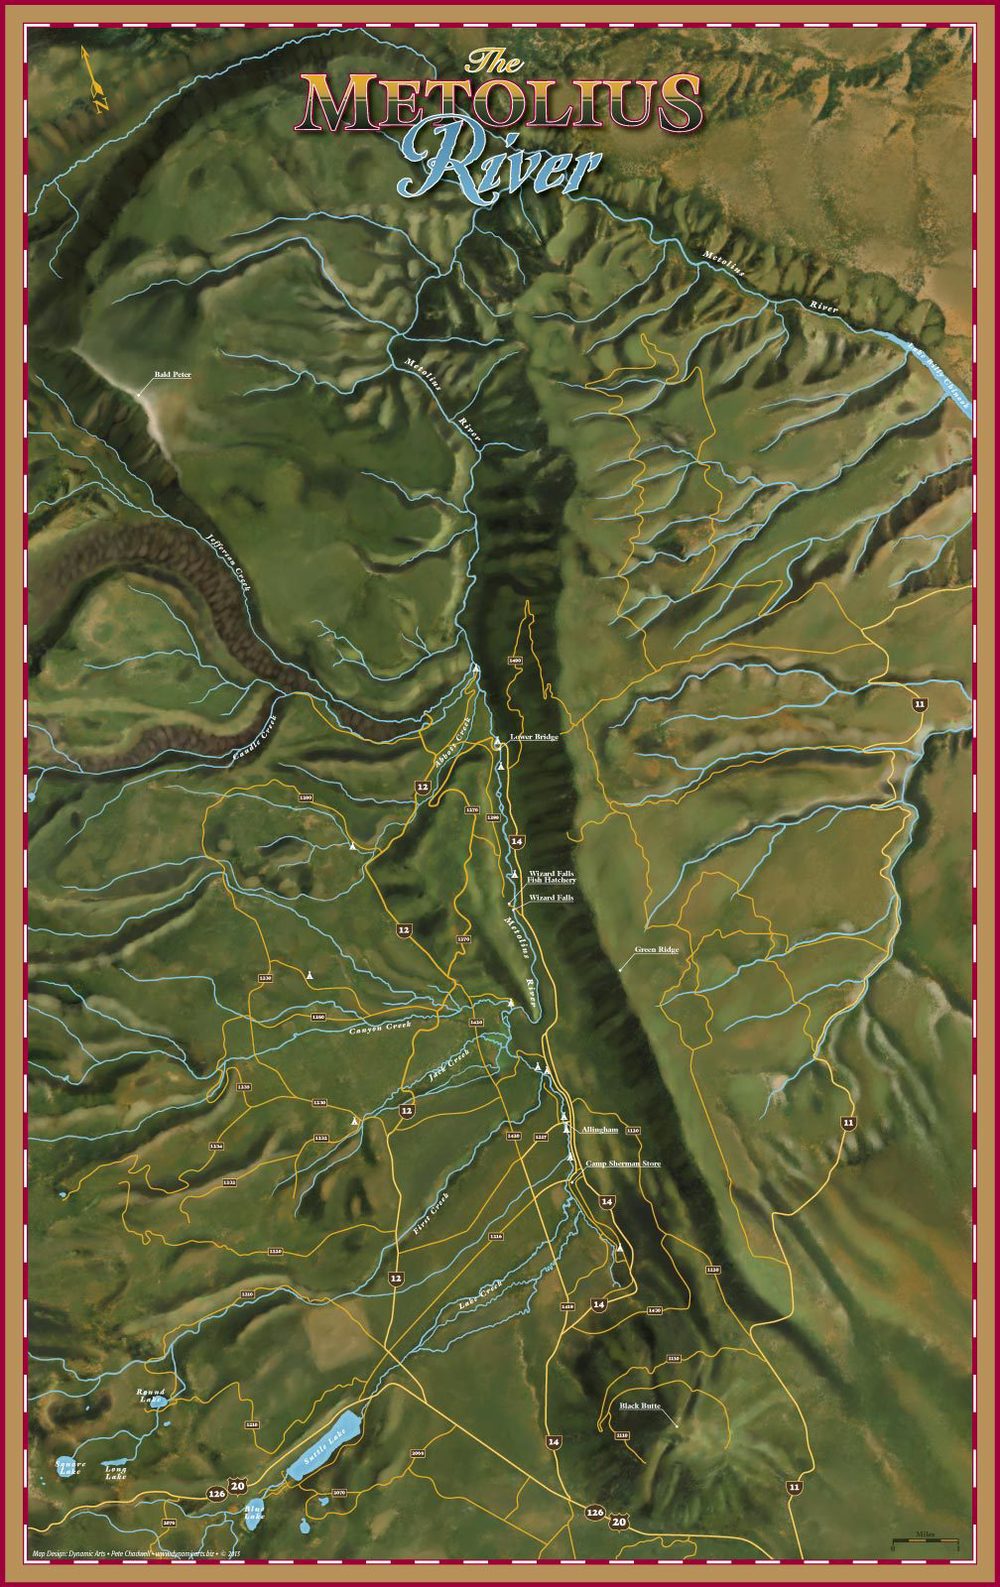
I've decided to develop the style of maps I do for the magazines into a large-format, more fully-rendered piece of art that shows off these very interesting places… some places I have fished, some places I'd like to fish.
I've begun with the Metolius River, a little more than an hour's drive from my home here in Central Oregon. The Metolius is a beautiful spring creek which also takes on quite a bit of snowmelt from tributaries as it rolls toward its confluence with the Deschutes River at Lake Billy Chinook.
I'll be making this available as an art print here.
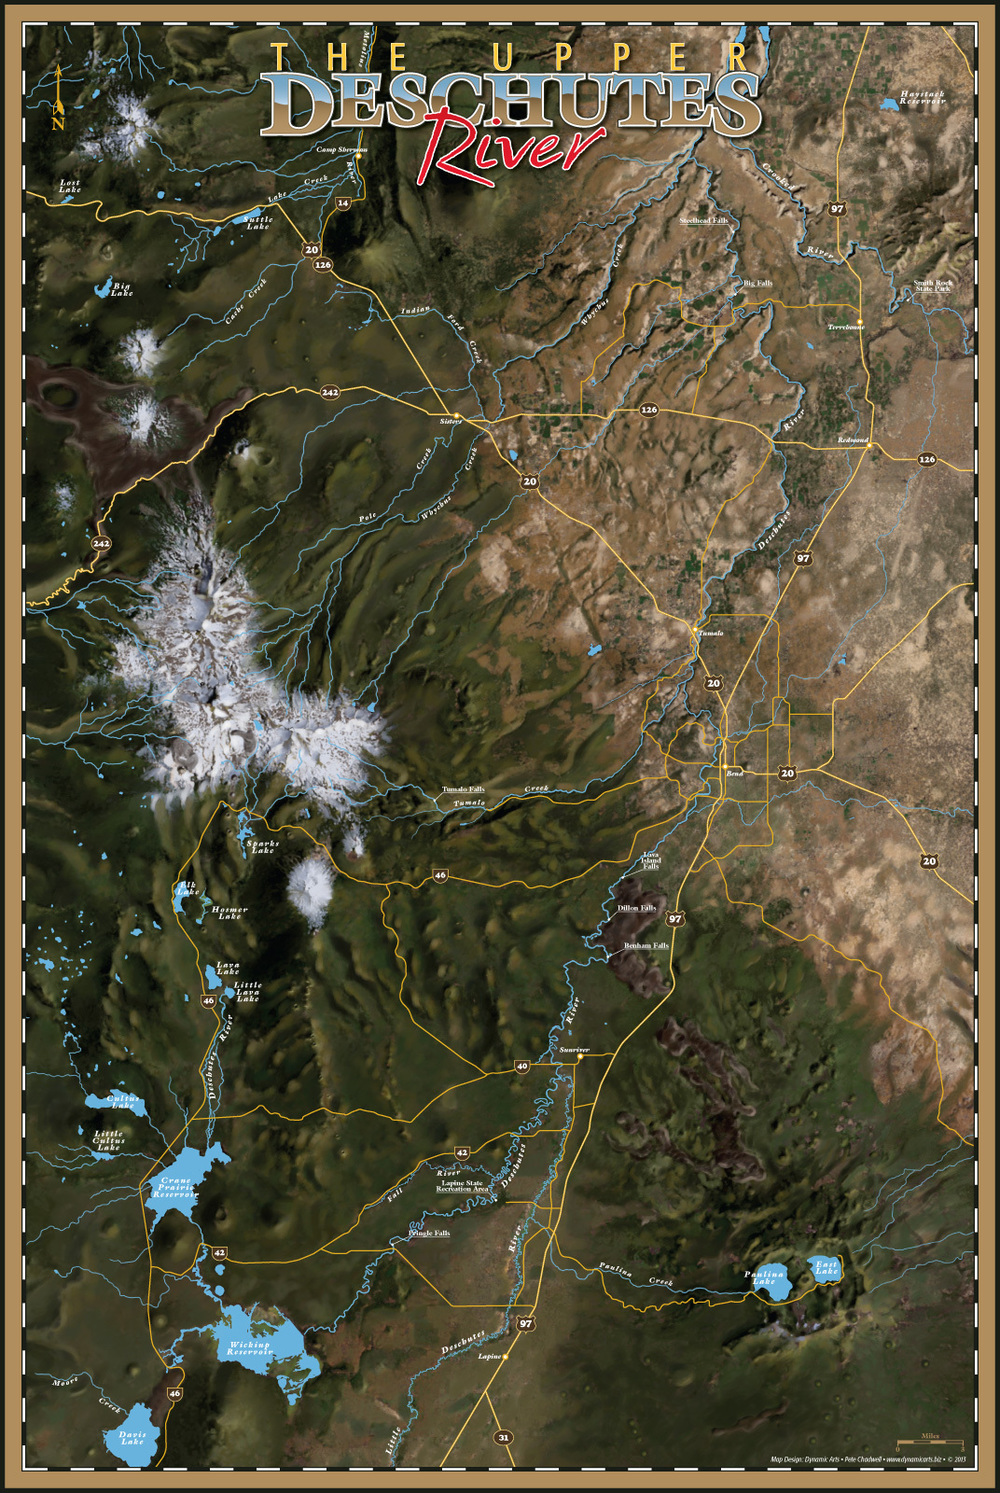
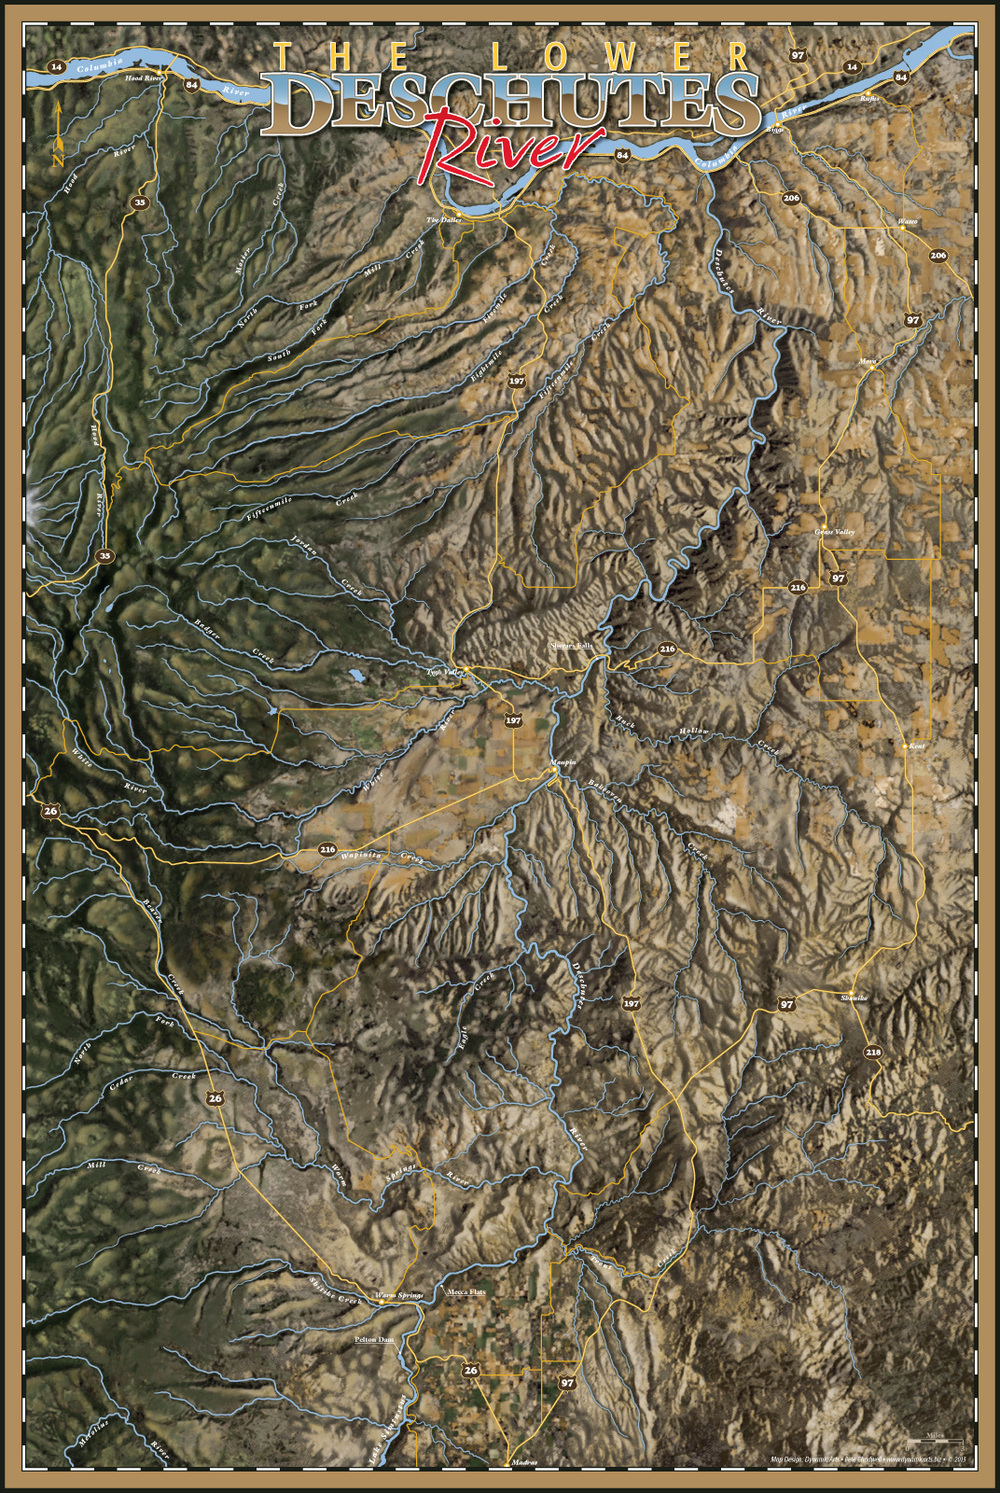
Of course then there's the Deschutes River… world famous for its trout and steelhead fishing. The Deschutes flows 252 miles from its source at Little Lava Lake (4747' elevation) to the Columbia River (164' elevation). I've broken the river into two sections, the upper section from Little Lava Lake down to Lake Billy Chinook, and then from Lake Simtustus all the way down to the Columbia River. The geology of this area, especially in the upper reaches, is fascinating. The river flows past huge lava flows and the landscape is spotted with miniature volcanic cones.
These will also be available at FineArtAmerica very soon.
I've created a "turntable" animation of the Jaguar C-Type.
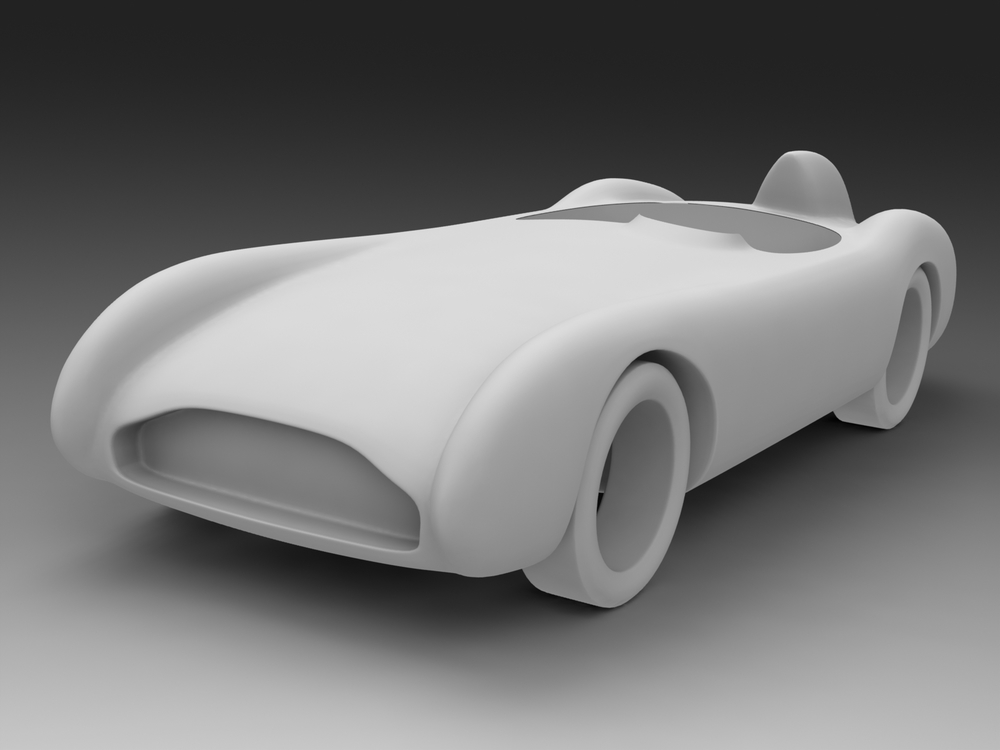
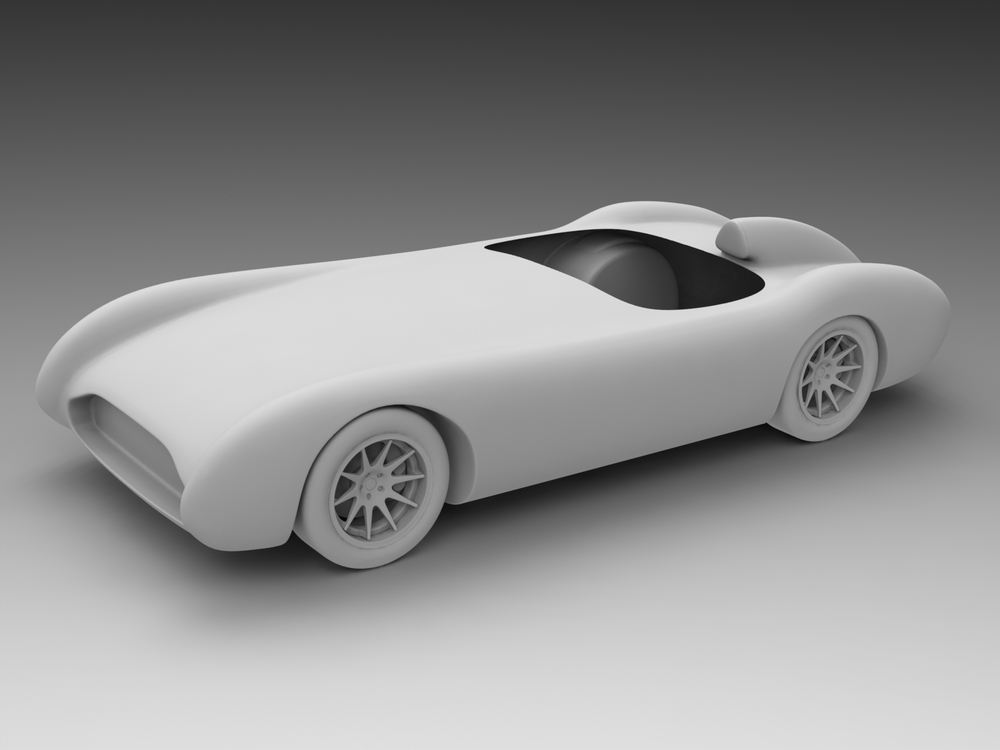
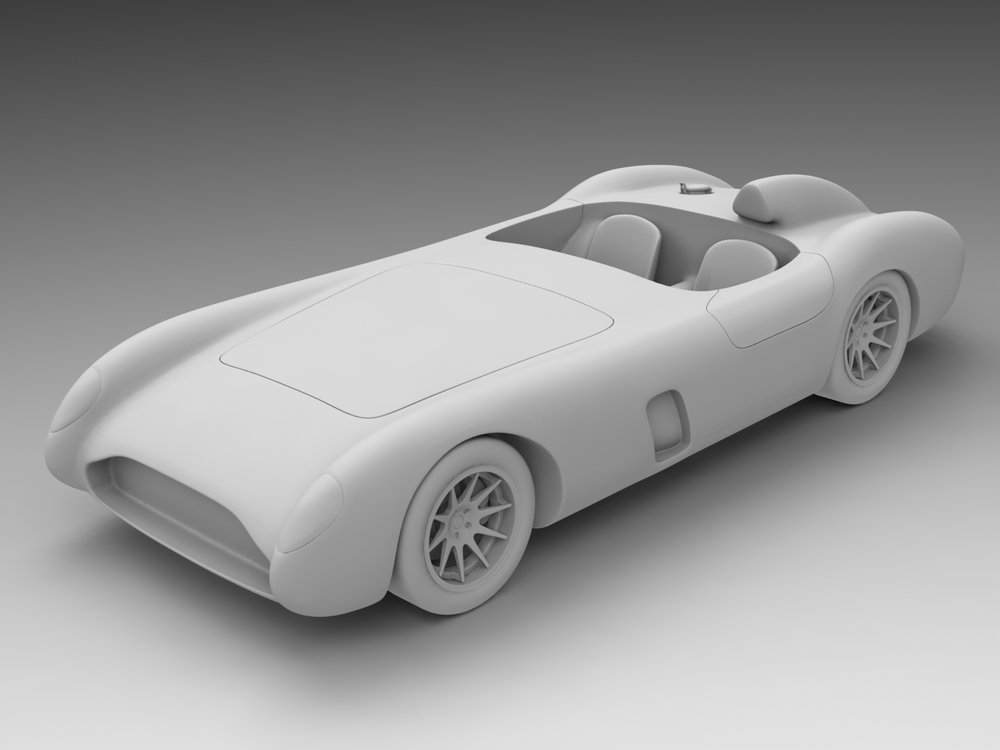
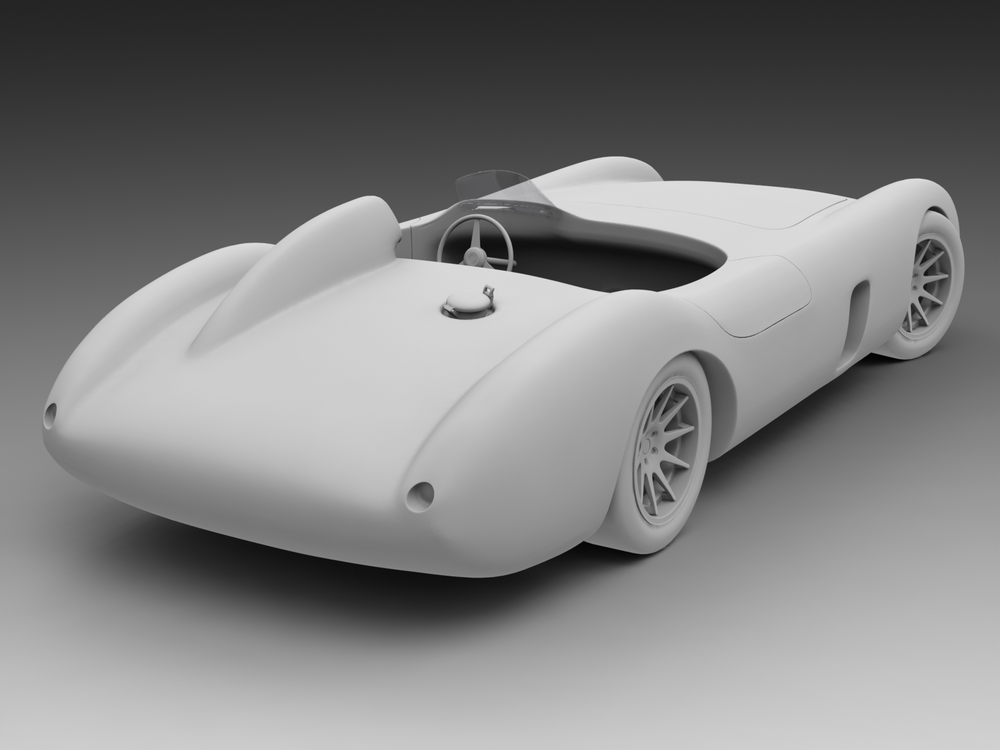
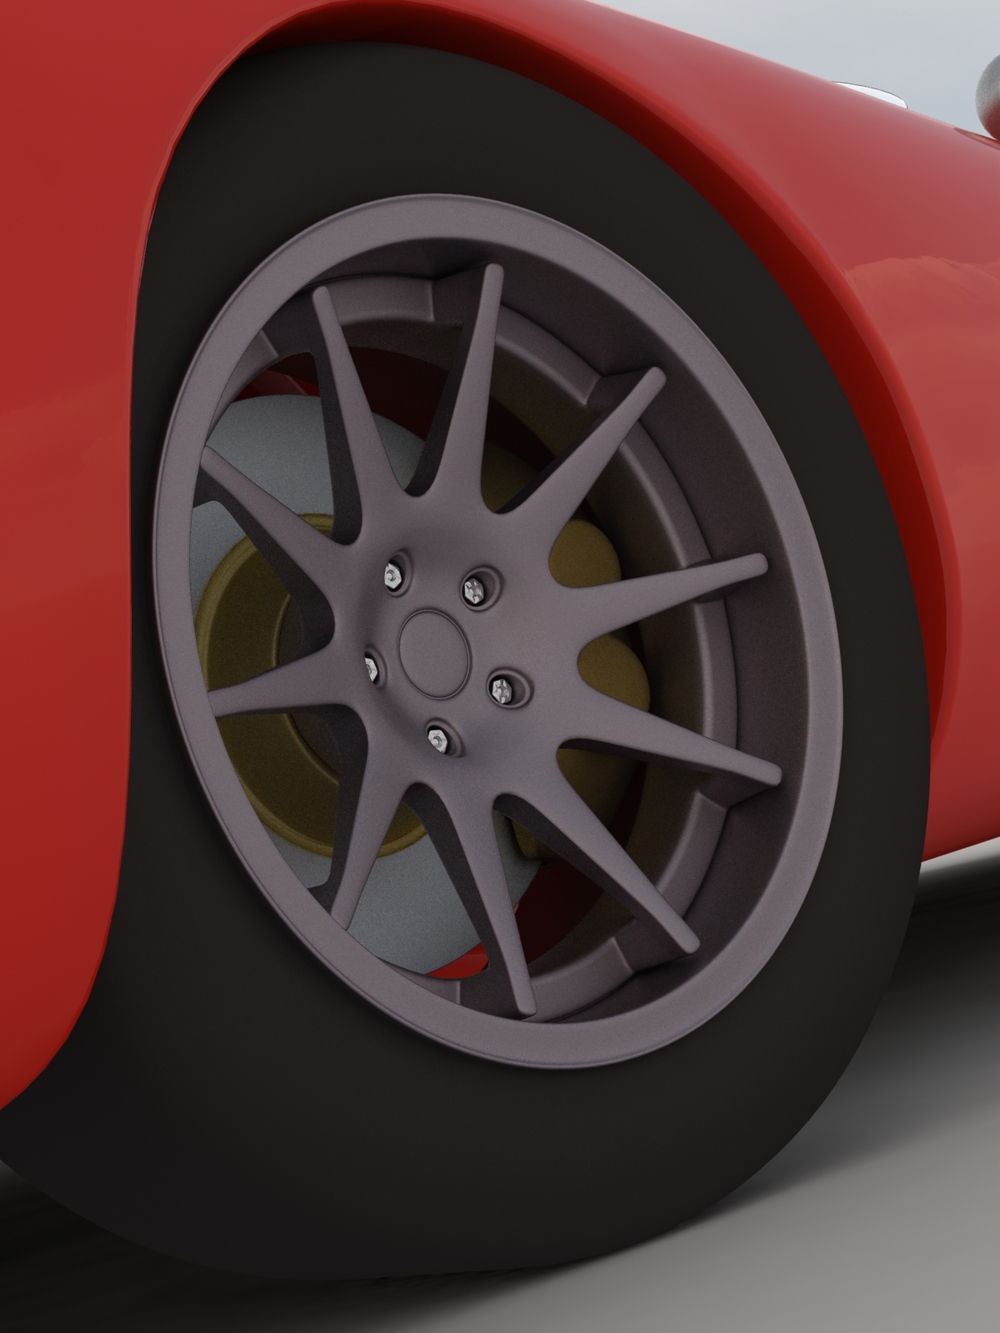
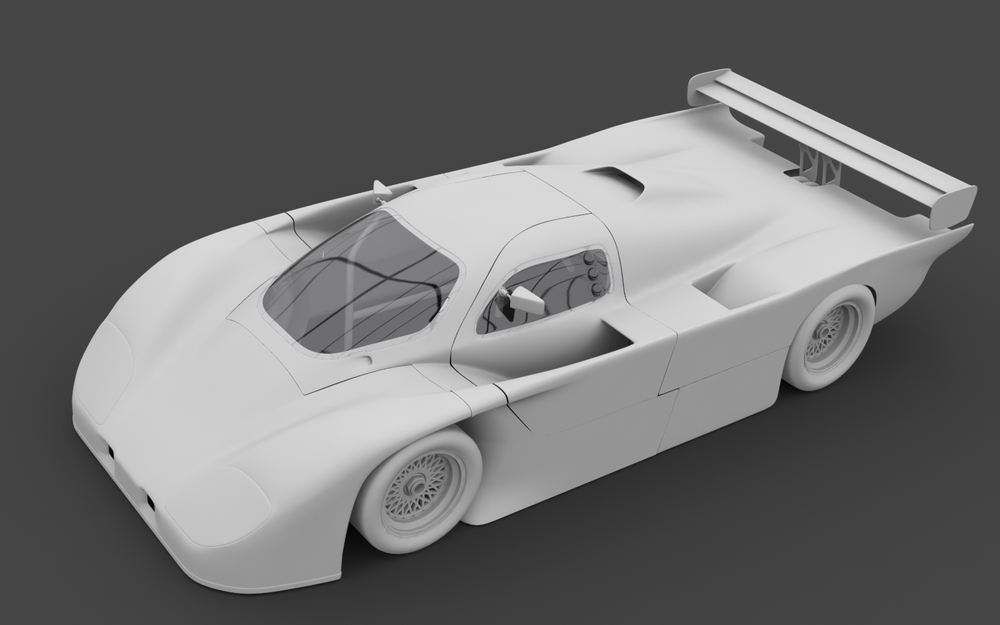
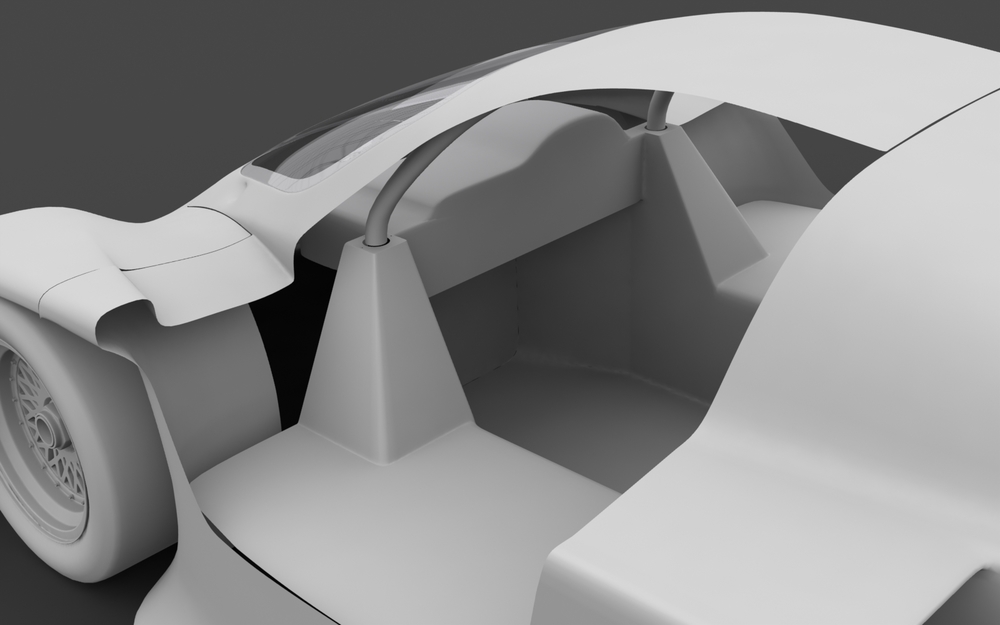
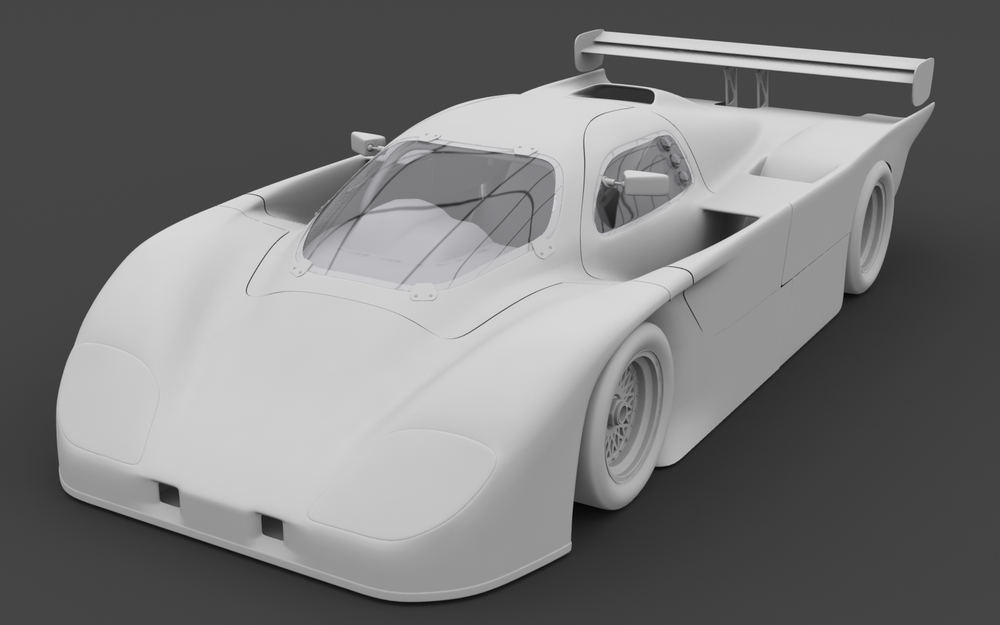
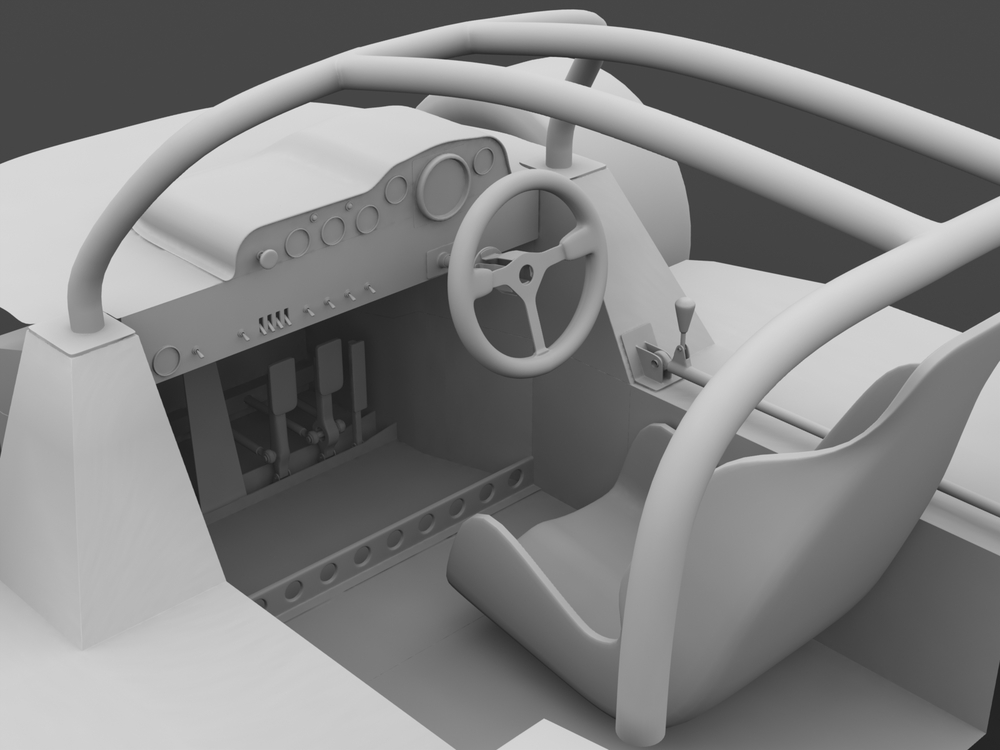
About four or five weeks ago a visitor to my web site named Steve contacted me about creating a 3D model of a sports car that he wanted to build himself, a car that combines certain styling cues from several vintage racing cars, all to be built upon a Corvette chassis.
Steve and I worked out the terms and, in short order I was off and running. What a cool project!!
Here are some images from the progress of this project.
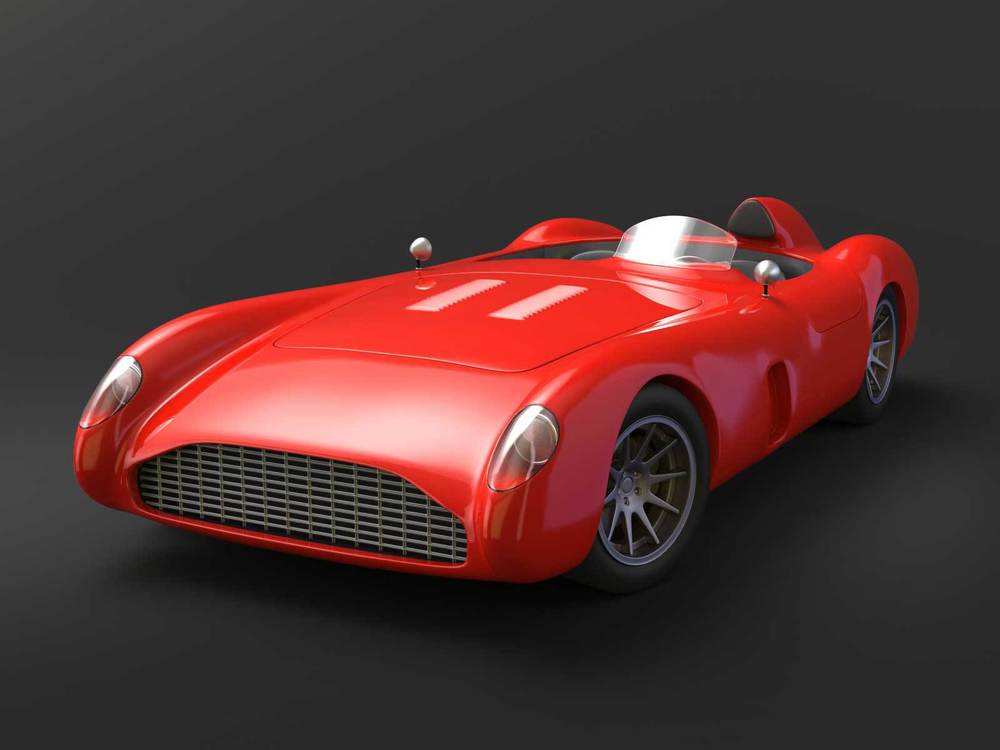
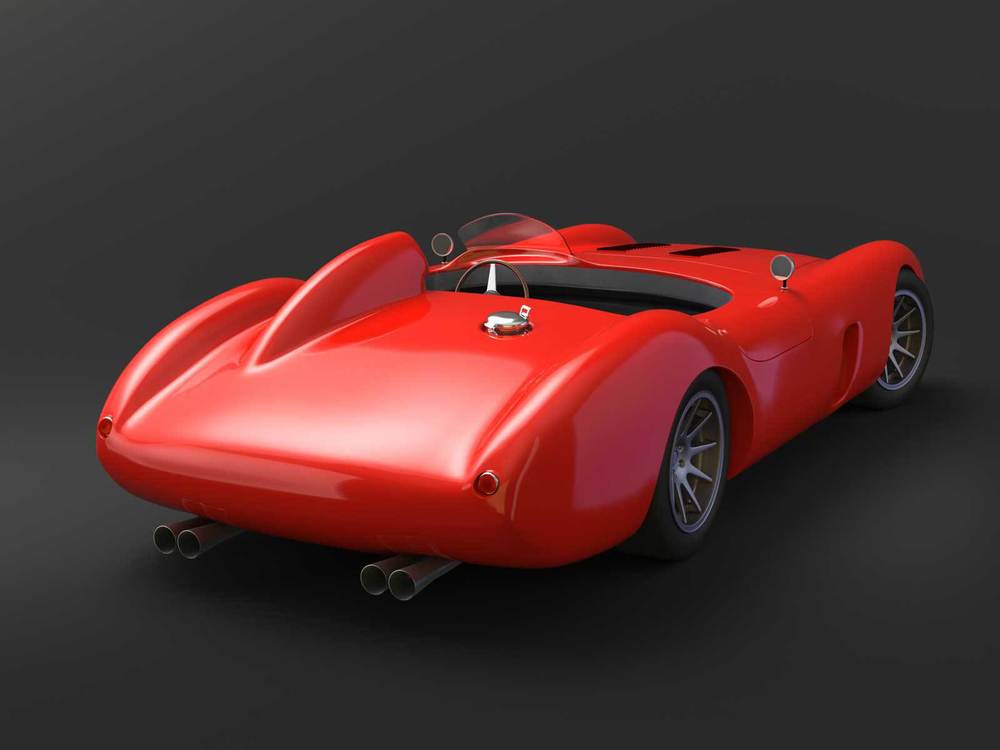
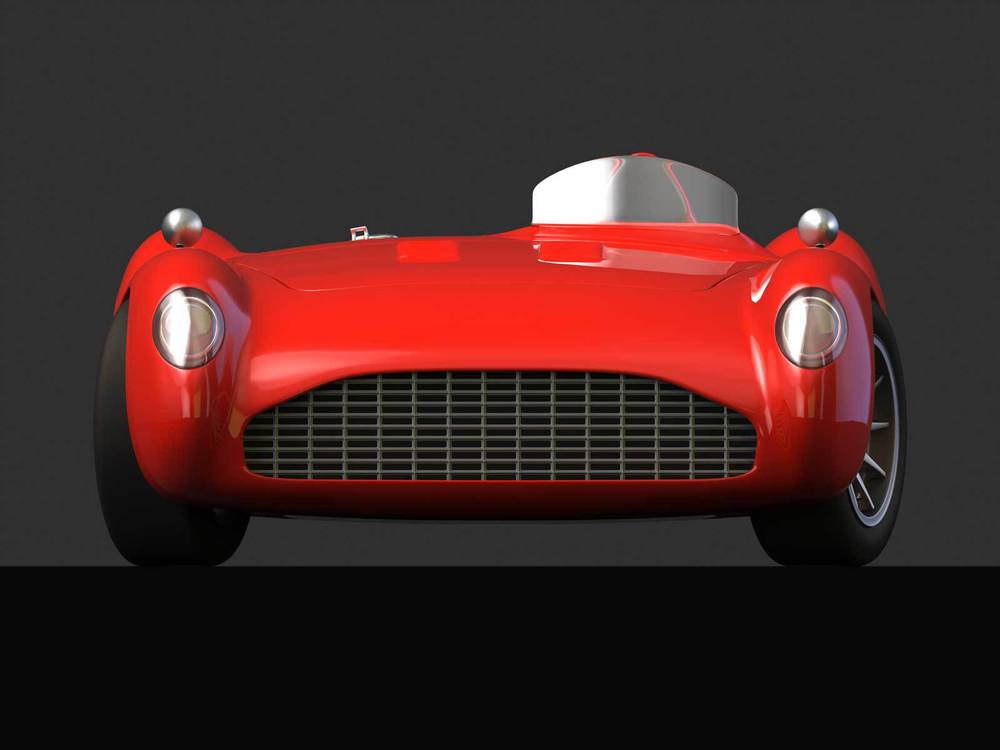
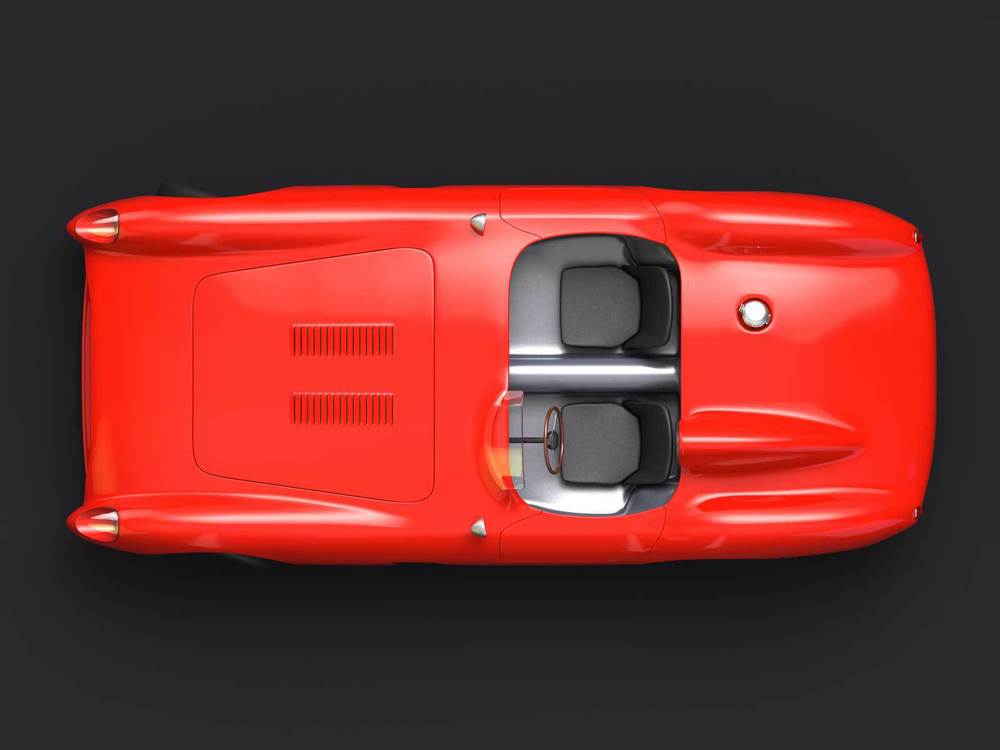
Thank you, Steve, for a very enjoyable project! I can't wait to see pictures of the real thing!
A few weeks ago a British film company (Tangerine Films) contacted me after visiting my web site and seeing the Jaguar C-Type model. It turns out they needed a 3D model of a C-Type Jaguar for the production of a promotional video they were doing for Jaguar to promote the coming launch of the new Jaguar F-Type sports car.
Well, they ended up purchasing the model and using it in the video embedded below. It goes by rather quickly, and you don't see a whole lot of the car, but the intent was to invoke Jaguar's sports car heritage with 'teaser' shots of the C-Type, D-Type and E-Type models. The shots of each are brief and rather abstract, but enthusiasts are likely to recognize the shapes so I think the use was entirely appropriate and effective considering what the producers of the film were shooting for.
My C-Type model makes its appearance at the :17 second mark and remains on the screen through :22 seconds. The D- and E-Types show up a bit later, but those models were sourced elsewhere.
It's a nice accomplishment to have my work playing a direct role in Jaguar's promotion of this new sports car, the F-Type.
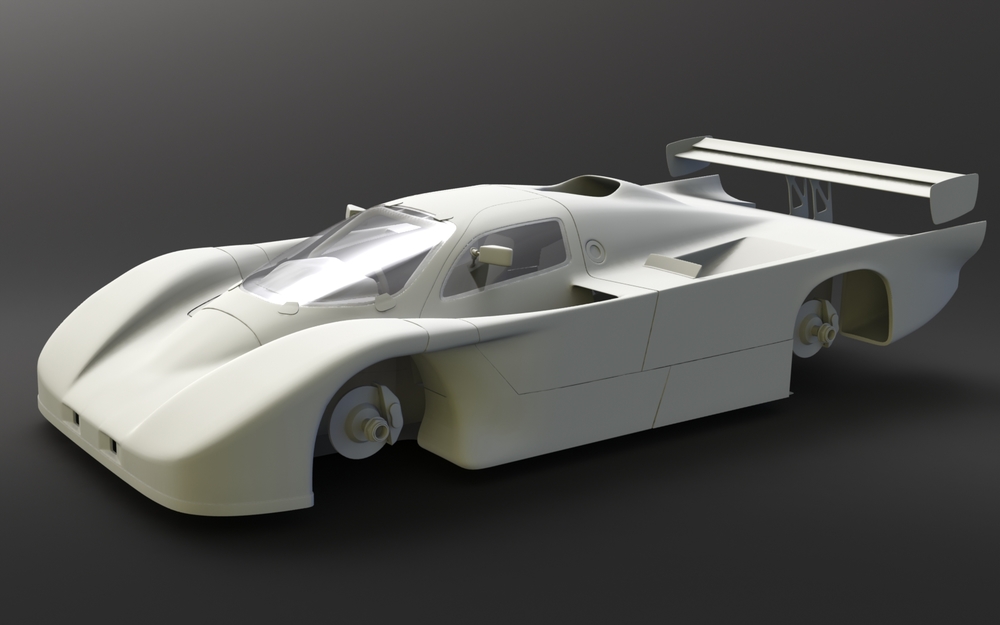
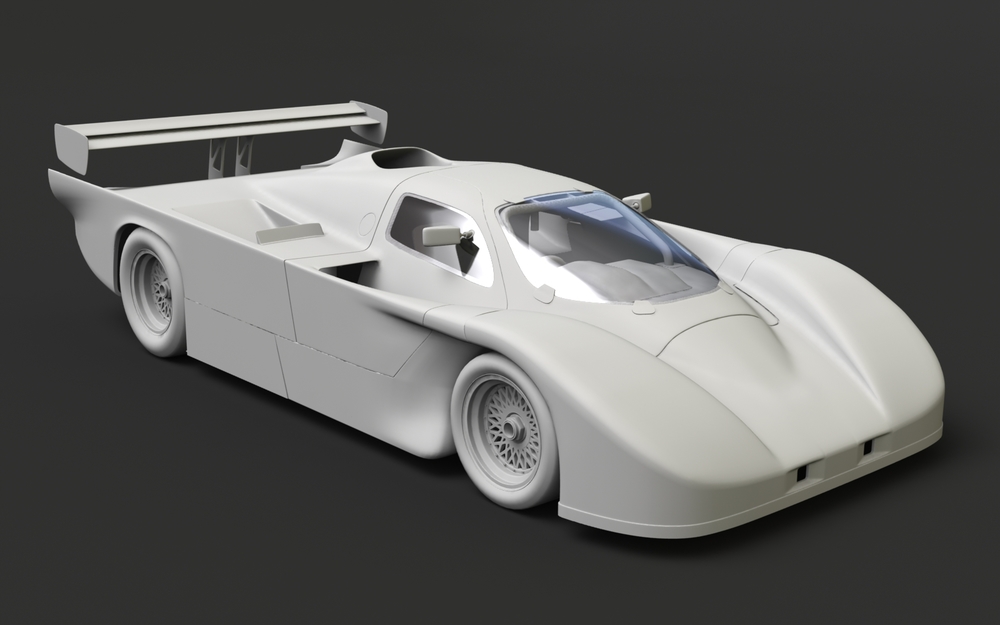
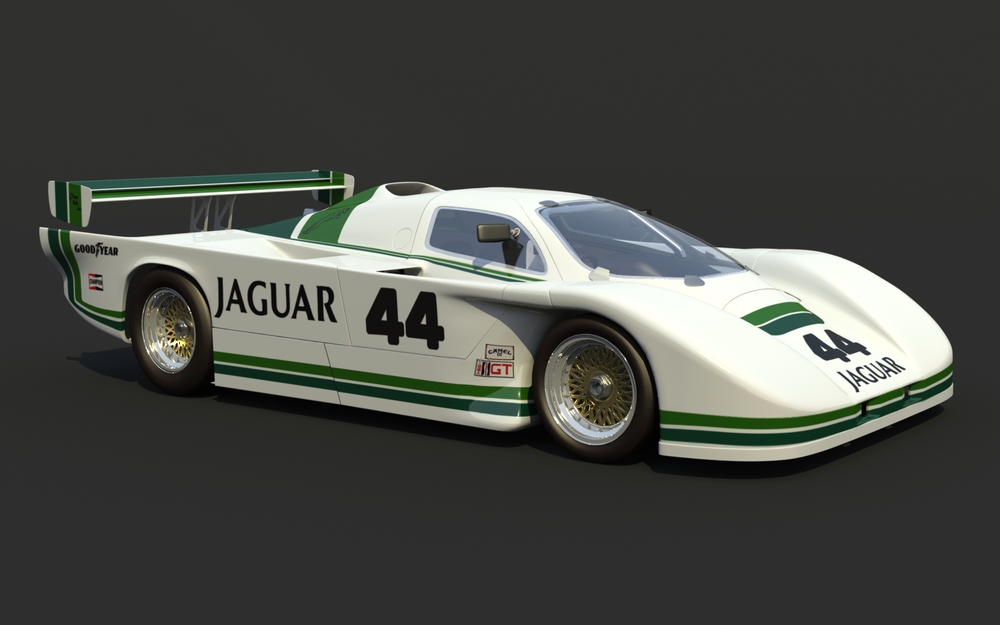
The model of the Group 44 Jaguar XJR5 turned out to be a long-term project, alright. It got set aside for a couple of reasons… for one thing I needed to wrap up the Jaguar C-Type. Plus, I had a fair amount of paying work to do besides… and I'm sure grateful for that!
But one reason why it was easy to set this one aside was that the more I looked at it and compared it to the numerous reference photos I had gathered, the less happy I was with it. Eventually I figured out what the problem was: I started this model with bad drawings. I had downloaded them from the internet, and thought they were scale drawings. Simplified somewhat, but reasonably accurate… I thought. But much to my aggravation I had to conclude that the drawings actually had little basis in reality, apart from the fact that they did show the car with 4 wheels and tires. (I guess that's commendable) But seriously… after I worked my tail off trying to get the bodywork right I still could tell that something was wrong.
When I compared it to my reference photos, the front end was looking too bulky, the windshield way too small, the side windows not the right shape. It was driving me nuts. So I went digging some more and, to make a long story short, found better drawings. So, then I had to do the bodywork over AGAIN.
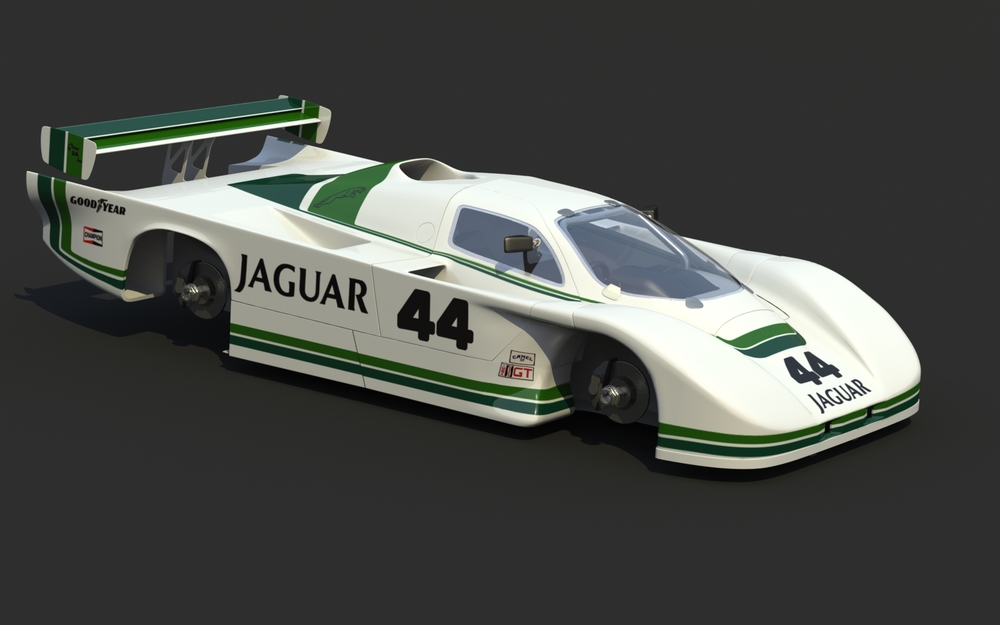
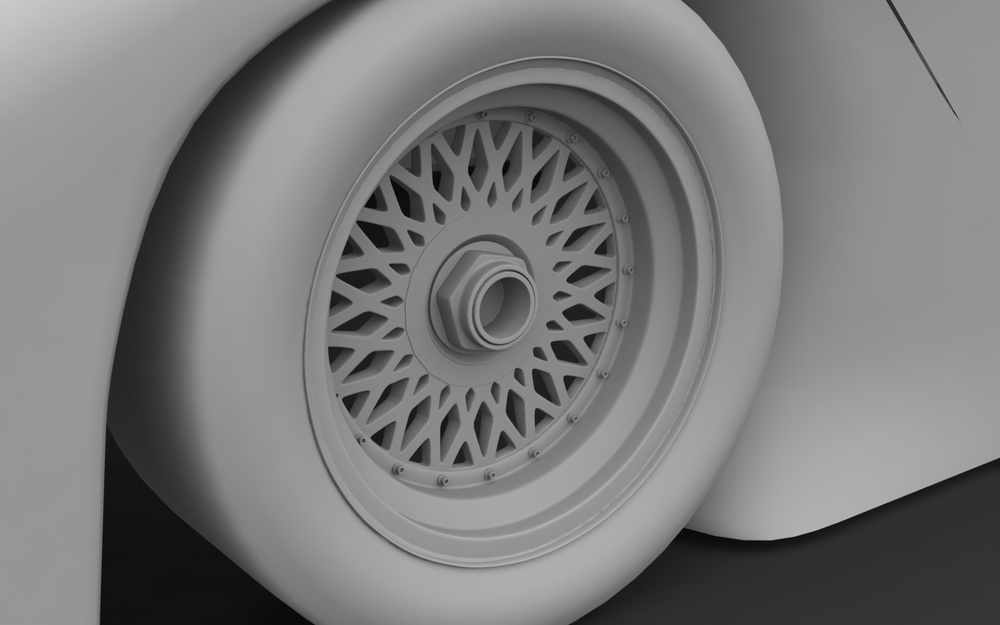
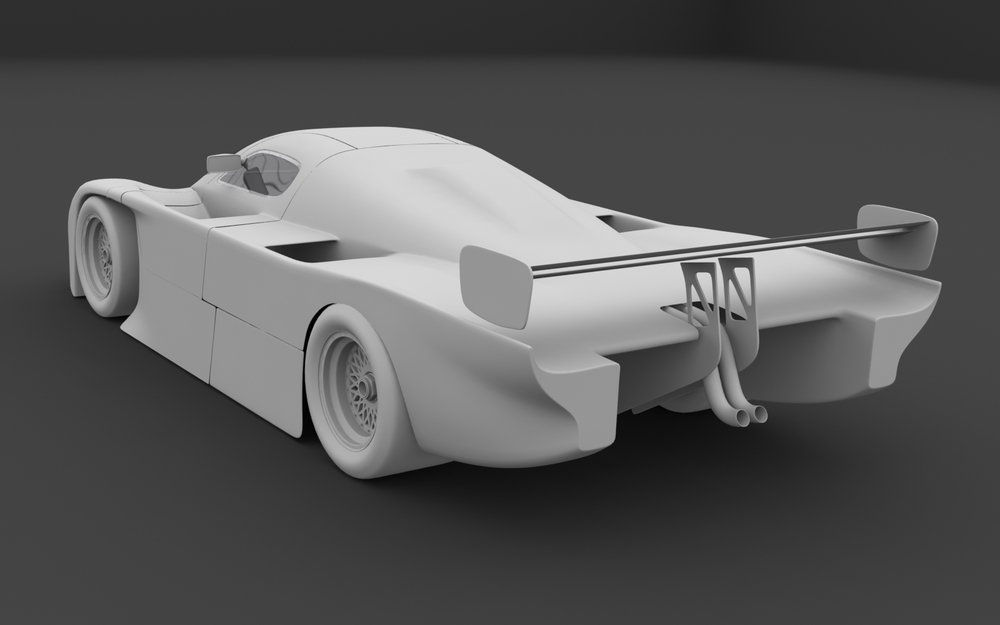
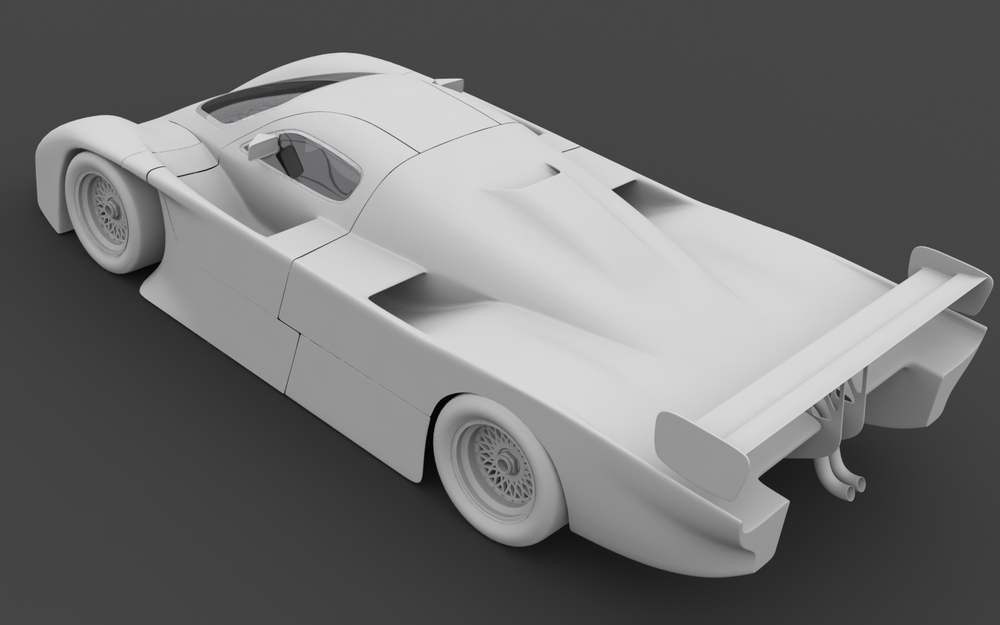
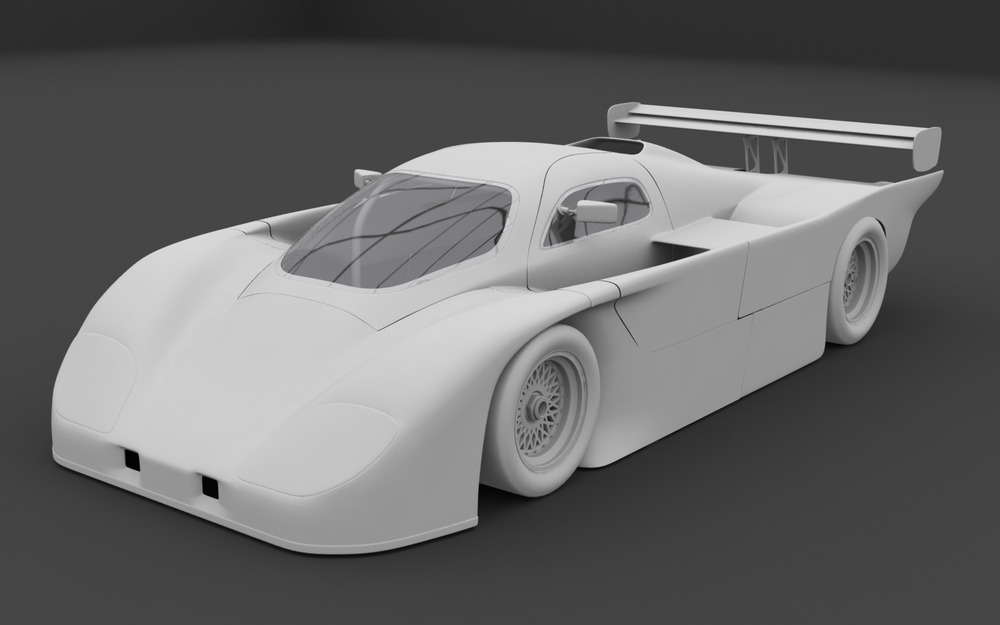
Based on the new drawings, I have re-modeled the bodywork and I'm very pleased with the vast improvement… and I've pushed right on through to applying the Group 44 livery to the bodywork. Here are some test renders:
I still have details to add and a lot of texturing to do insde the cockpit, but it won't be long now before I'll be able to drop an image or two into a "Group 44 Legends" format and make those available for purchase through my FineArtAmerica.com profile.
I'll be posting a few more images here before that happens, though. Thanks for visiting!
Here's a shot with wheels and tires removed.
I've completed the work on the 1953 24 Hour of Le Mans-winning Jaguar XK120-C. The final renders are posted below. Art prints can be ordered by visiting my profile at FineArtAmerica.
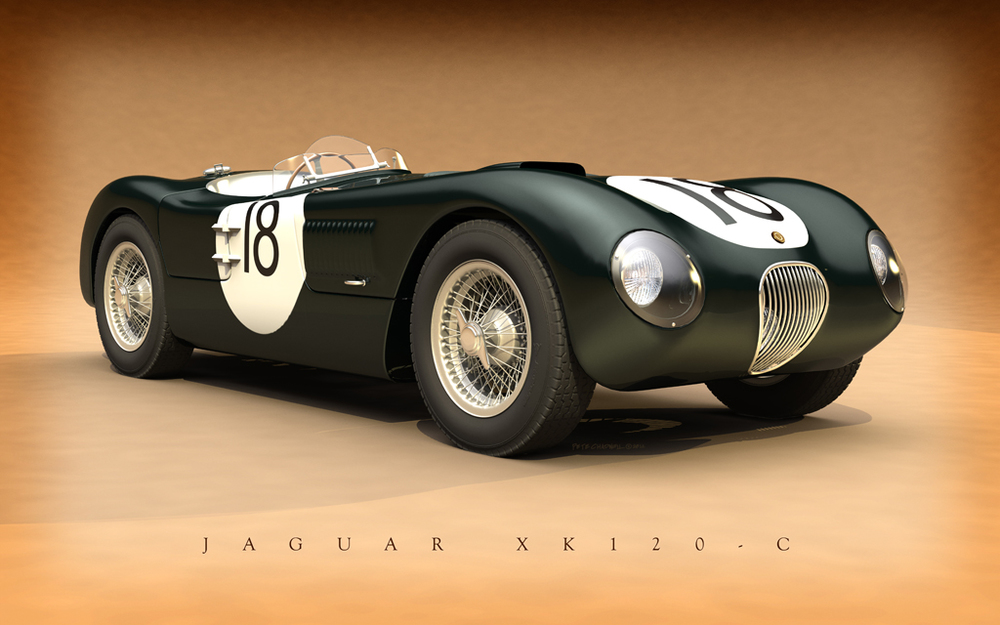
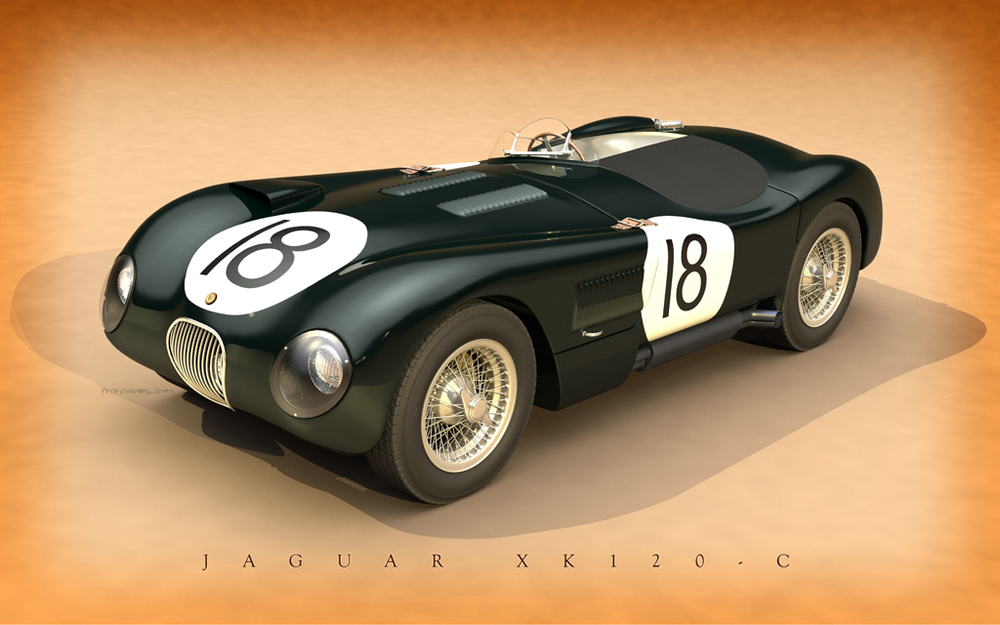
Though I'm not totally done yet with the Jaguar C-Type, I jumped into another 3D illustration, which will be the second in the "Group 44 Legends" series. This time it's the Jaguar XJR-5 driven by Bob Tullius. This car was raced in the early-to-mid 1980s and I'm still in the process of learning some of the history of the car.
I've already made pretty good progress on this, and I've posted some images below.
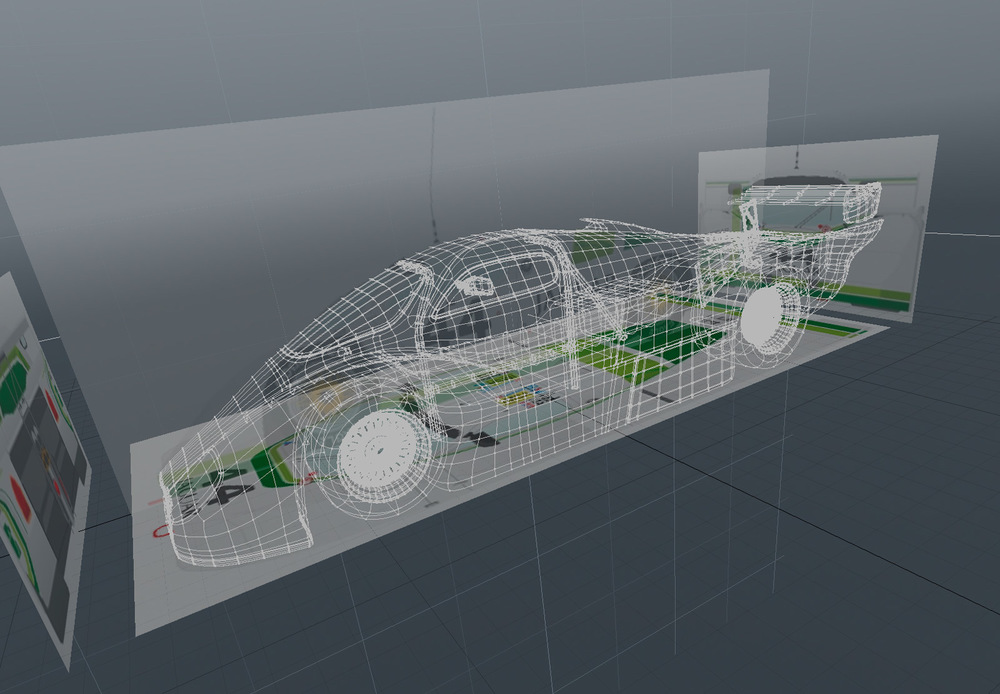
I've made some adjustments now to the side windows, which is a big improvement:
And now I've started to build some of the cockpit features.
Some refinements to the bodywork have now been completed, and more details are in the process of being added. Here's the latest clay render:
I'm making progress on the Jaguar XJR-5, too. I have added quite a bit of detail to the cockpit. Here are a couple of updated images, but I'll post more as I move along.
I have a rather long list of interesting sports and historic racing cars that I'd love to create 3D illustrations of… one of those is the beautiful C-Type Jaguar from the early 50s. A while back I did begin such a project, but it was set aside for various reasons. Recently I've resurrected it and I will plan to offer prints of the images I render from it similar to the Group 44 TR6.
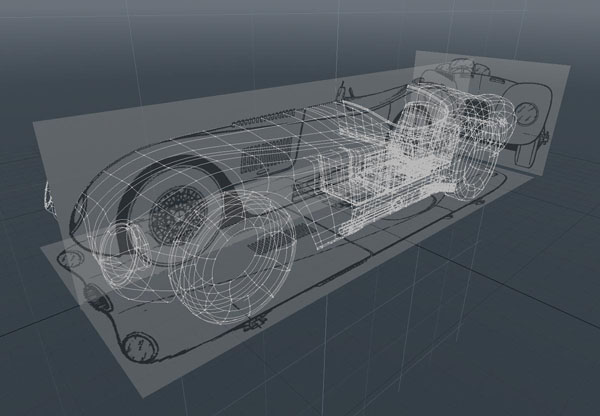
I've included an image below that shows a little of what this process is like… first I have to locate some reasonably good plan view drawings of the car. The Internet is a great resource, but it can fall short, too. For the C-type, I actually found a couple of good reference drawings.
These drawings are scaled carefully and then imported as backdrop images into the 3D space and arranged appropriately. And then the fun begins!
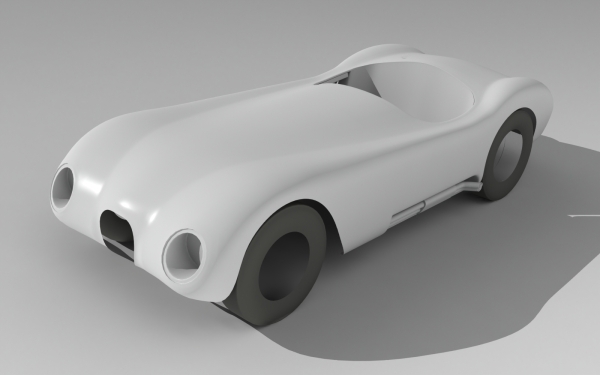
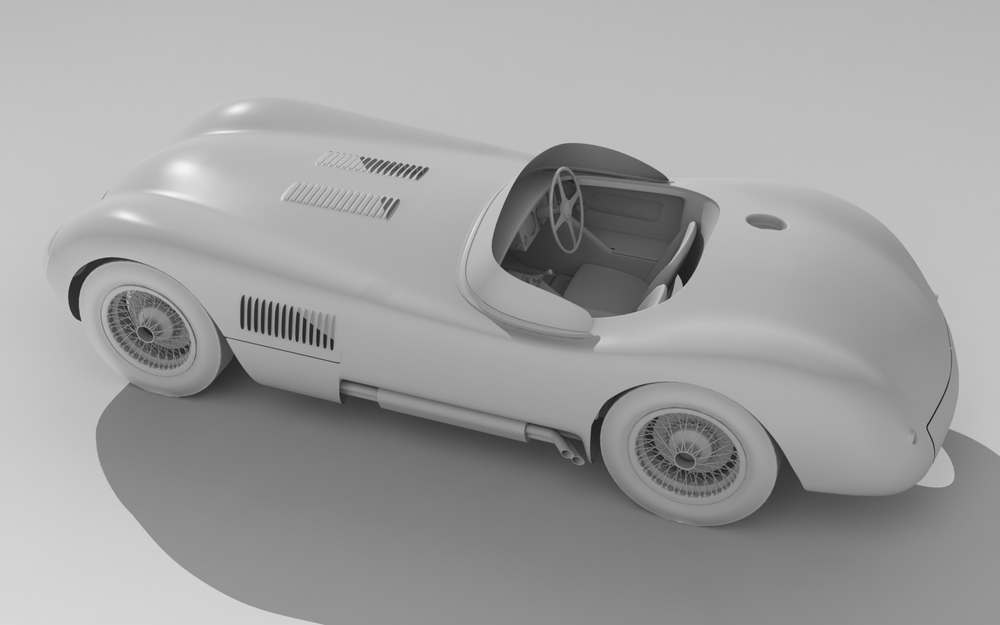
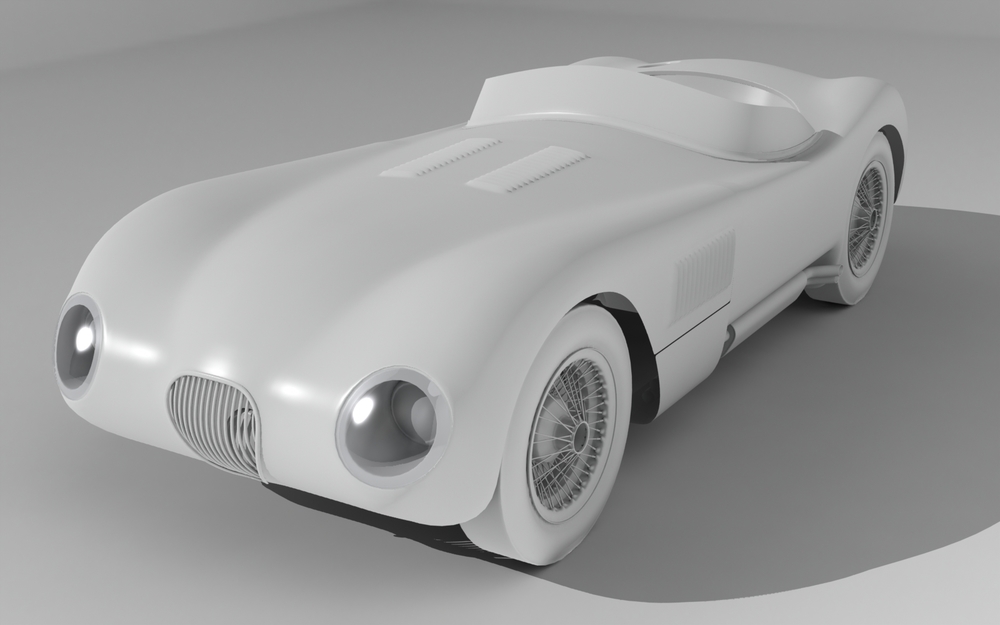
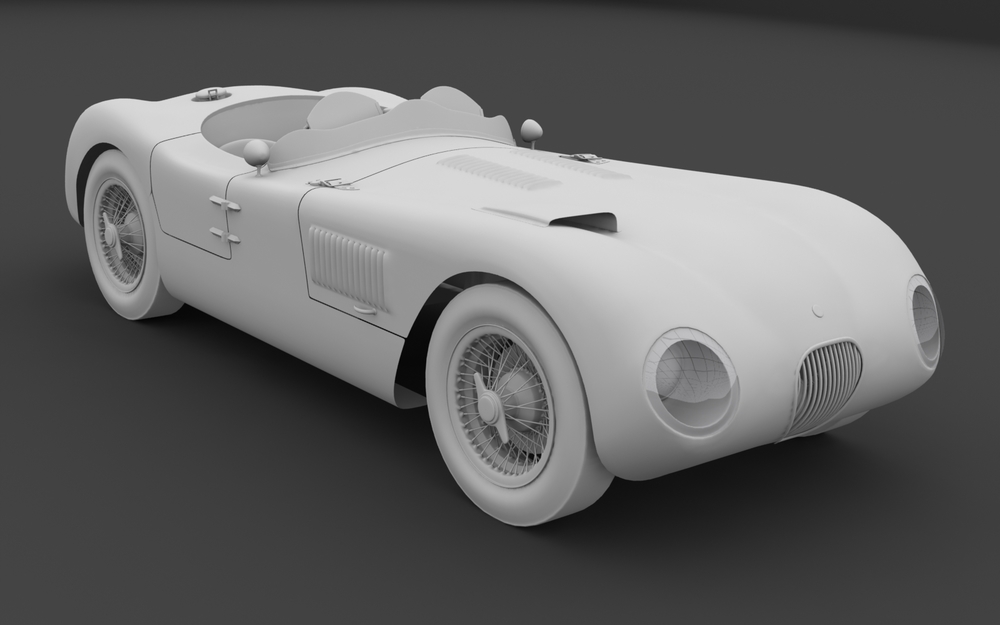
And here are a few early test renders of the Jag:
I don't expect to move to rapidly through this project, as I do have commercial projects I'm working on. But I'll post updates periodically!
Thank you for visiting!
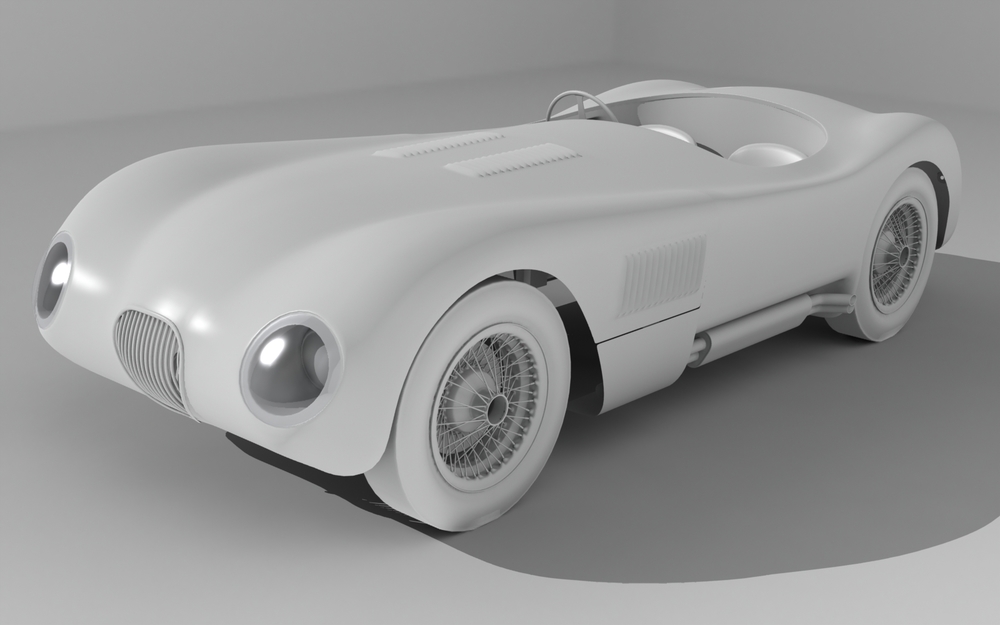
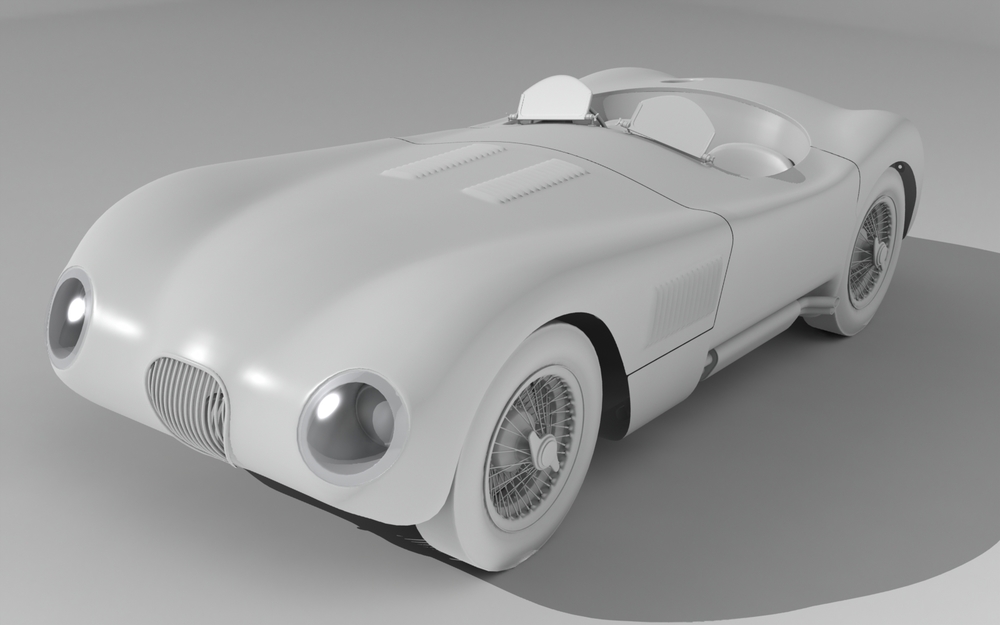
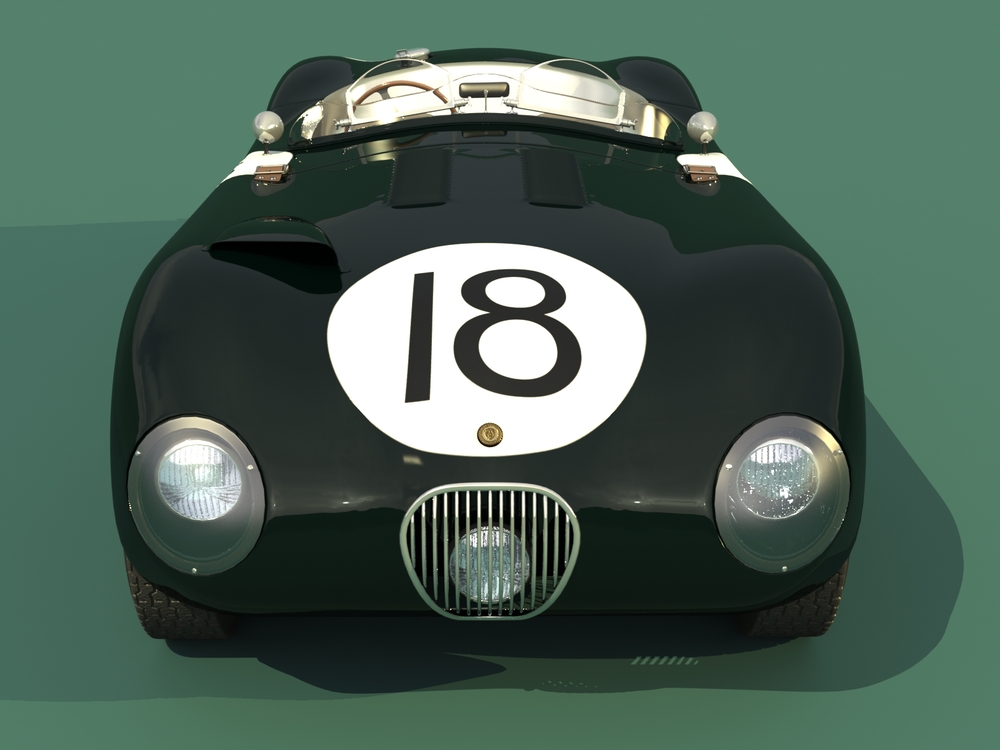
I was able to spent some time over the weekend to get some things accomplished here on the Jaguar C-Type model. The louvers in the bonnet were a challenge, but I think I've really got the bodywork nailed at this point.
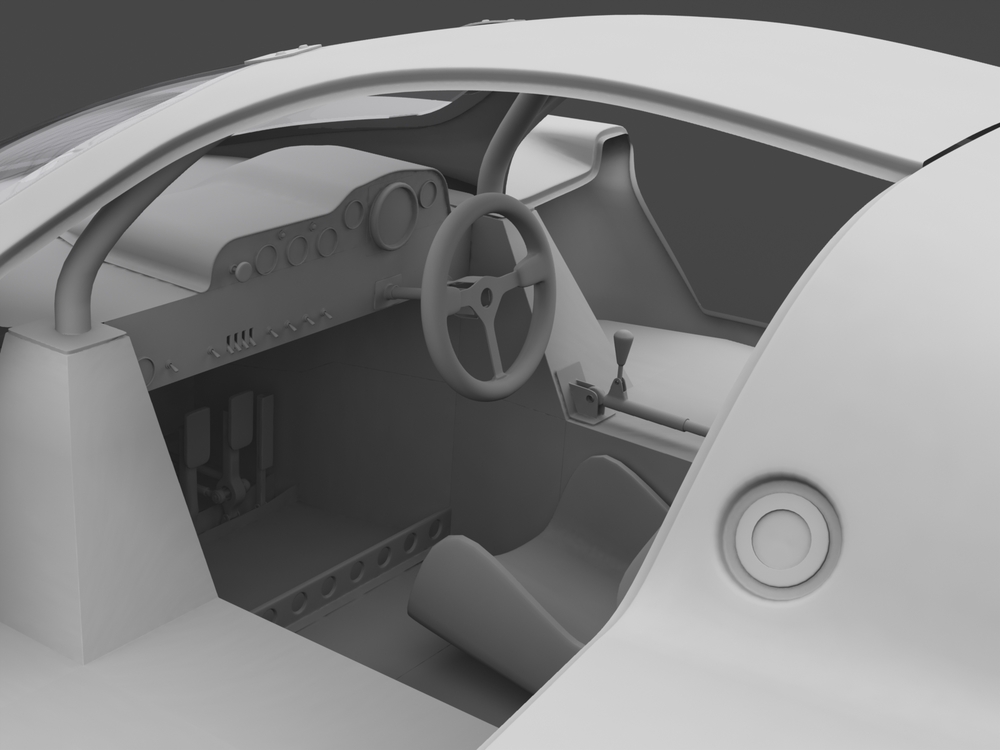
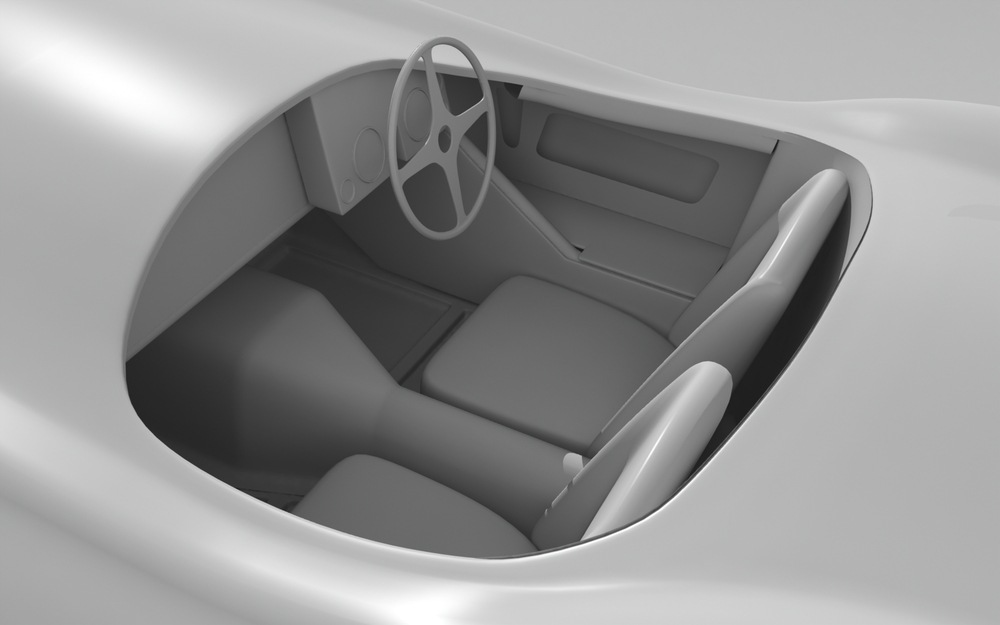
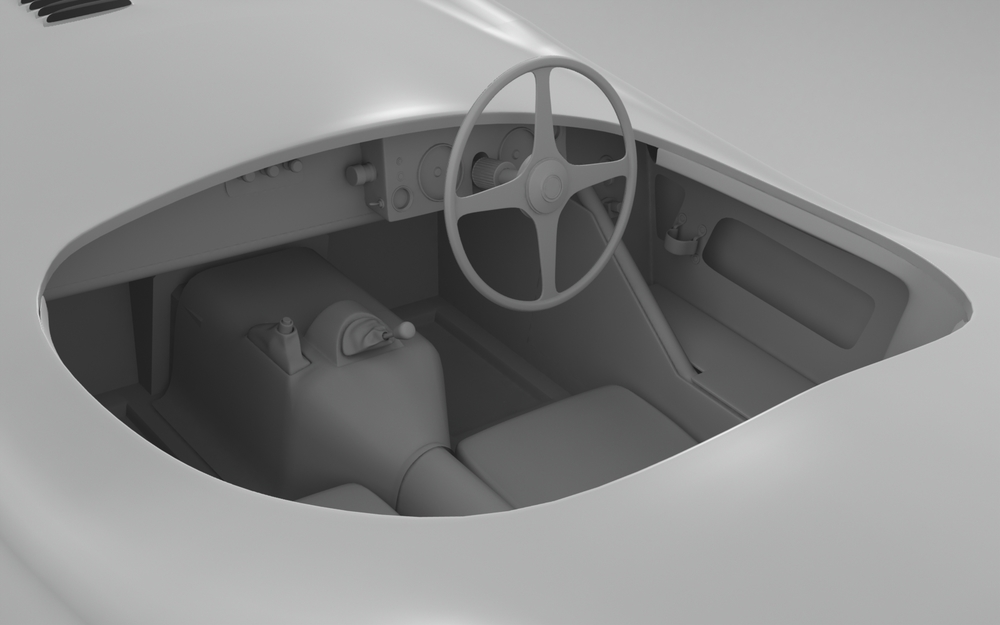
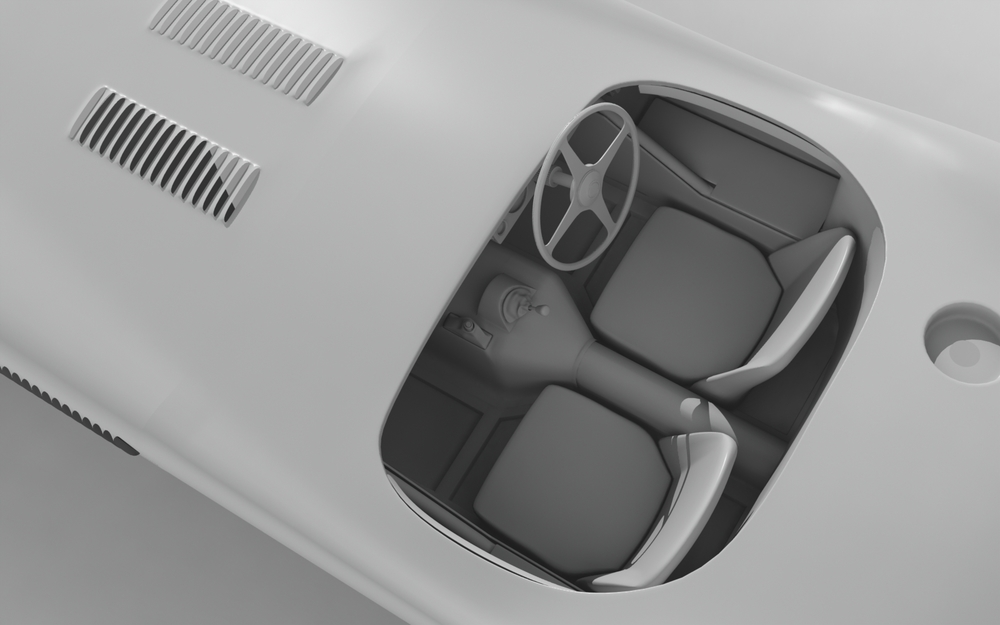
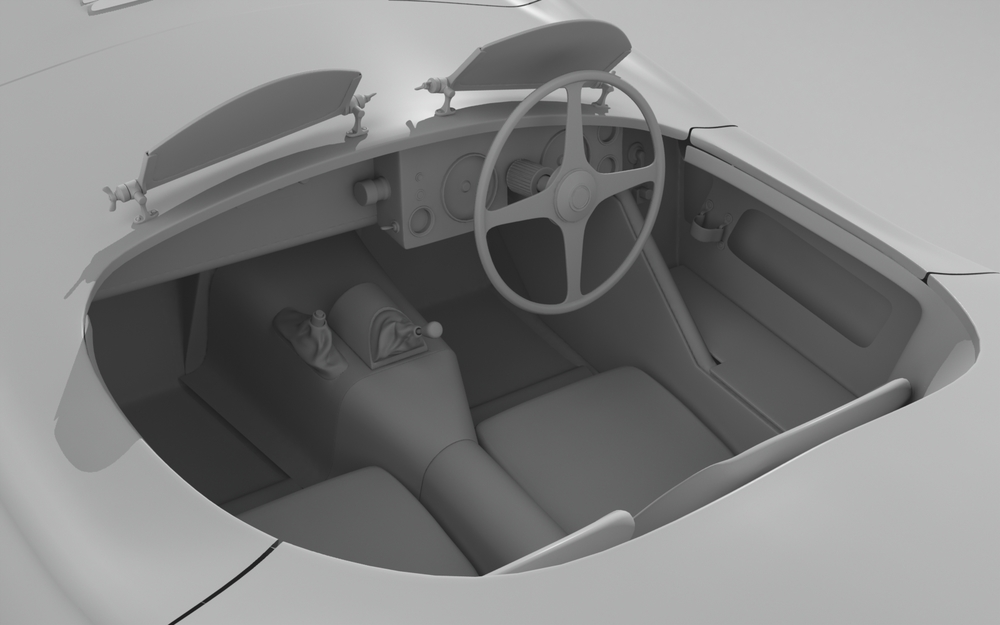
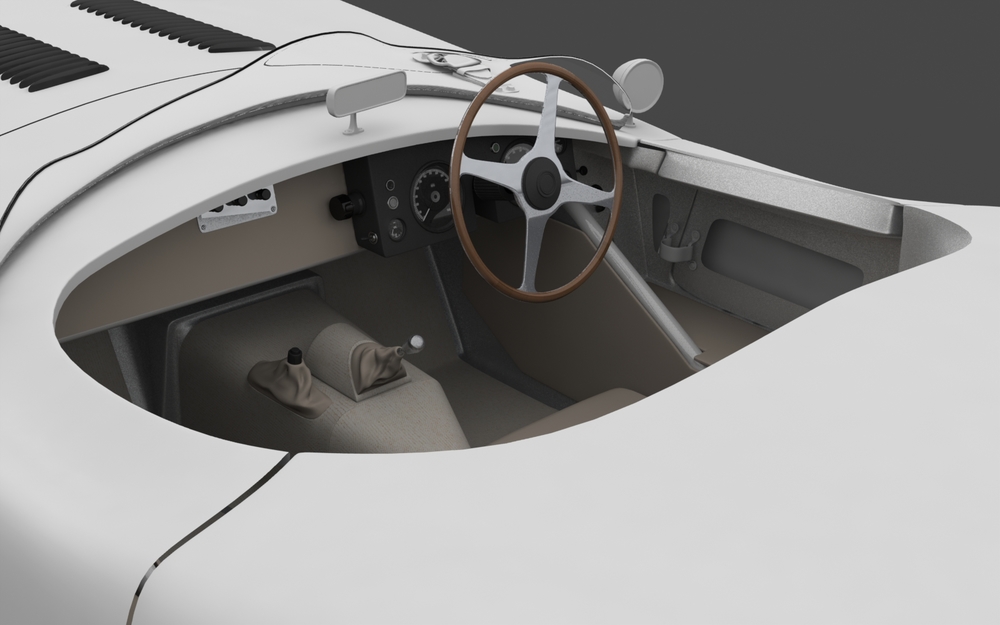
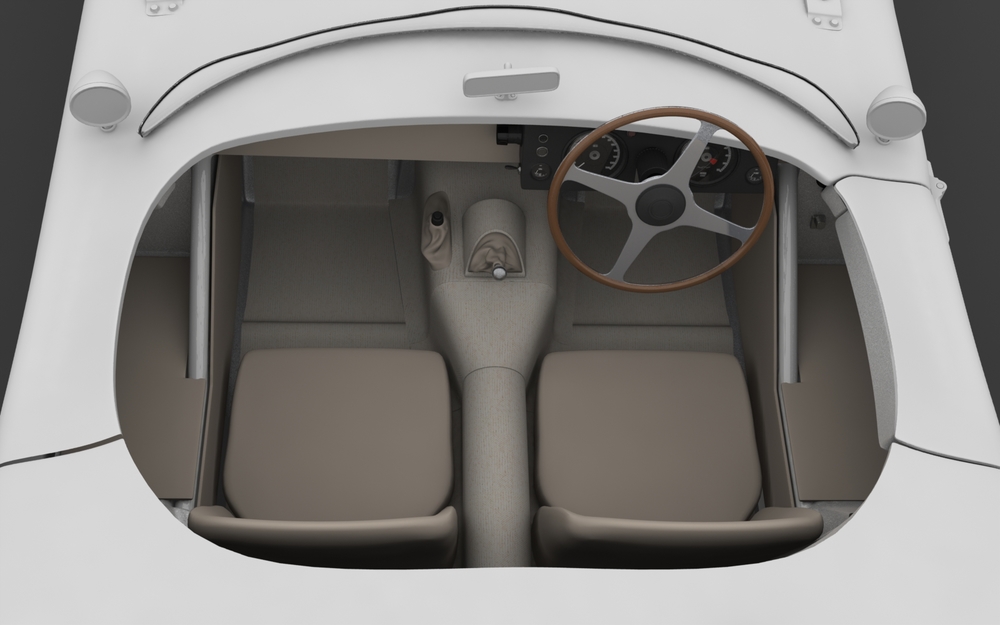
I also added a fair amount of detail in the cockpit of the Jag, so it's coming along nicely.
Part of that was reworking the seats. Many details remain, of course. And then comes UV mapping and texturing.
I'm pushing ahead slowly on the Jag, mostly making refinements now to some interior features. But I'm also starting to goof around with the windscreen. From the research I've done, it turns out there are as many windscreen configurations on Jag C-Types as there are Jag C-Types. Many have the old Brooklands-style windscreen--either a single in front of the driver or a pair--mounted on the cowl. So, I figure I can't go wrong with that. It's also common that they have a second windscreen used in addition to the Brooklands screens… not sure if I'll go that route or not at this point. Here's a couple more images:
These first renders show a single wrap-around windscreen, which looks pretty cool.
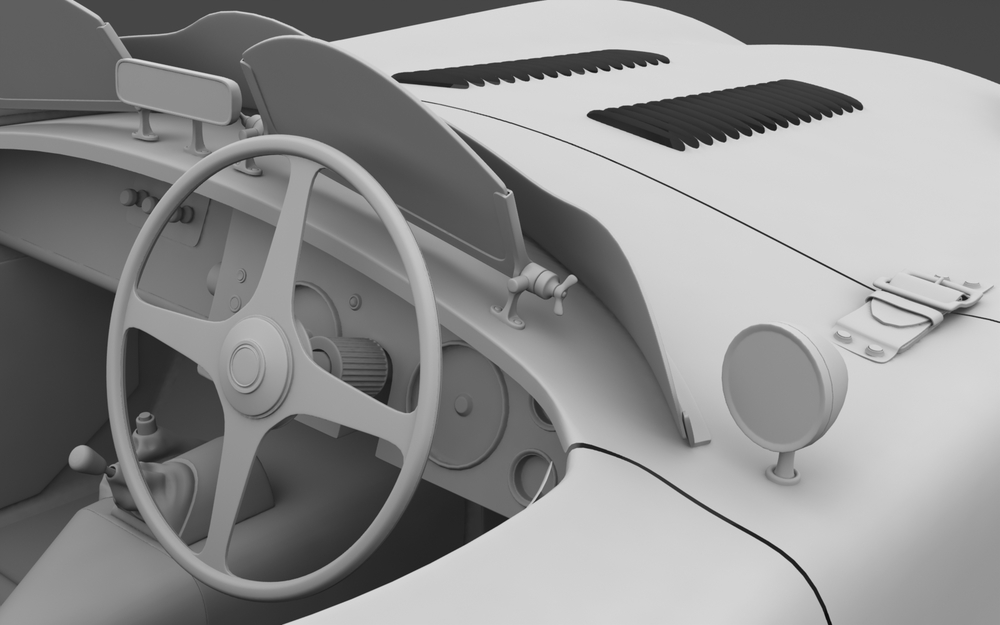
But there's something about those Brooklands-style windscreens:
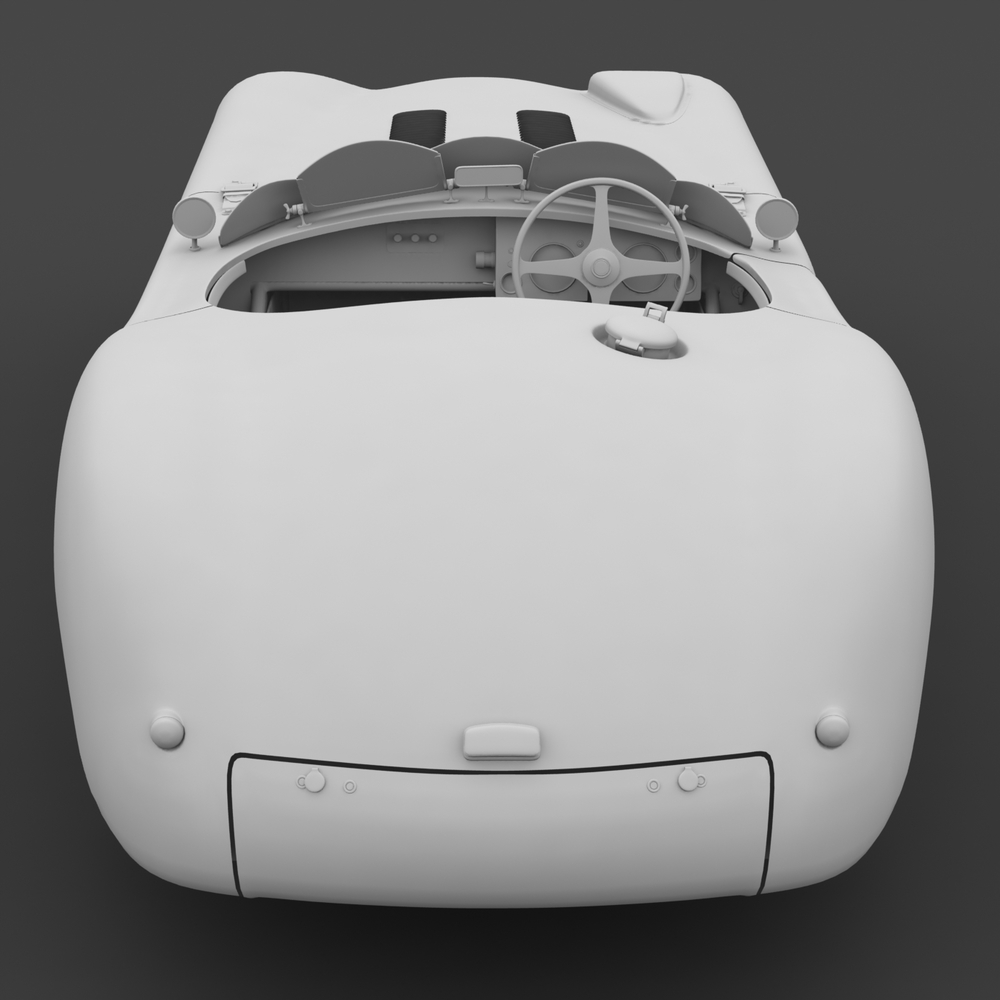
I still need to tackle the fuel filler cap, and that'll be no small task. But I did add all the shut lines in the bodywork, which is always kind of a pain. I'll most more as I go along!
I've been able to make a fair amount of progress on this Jag model. At this point all the exterior details are complete. It's time to zoom in, I think, on the instrument cluster and start creating the graphics for the dial faces.
Big leather straps with buckles serve to hold the bonnet closed on the Jag C-Type. And I've decided add in the single-piece windscreen so common on C-Types in addition to the Brooklands-style screens.
These cars are incredibly slippery-looking, front either front or rear.
I added door hinges on this side… no door on the other side. But this side lacks the big cut-out for the exhaust pipes. I also added the bonnet lift handles, just below the louvers on the side.
That does it for this update. Might be a few days before I can post anything substantial again.
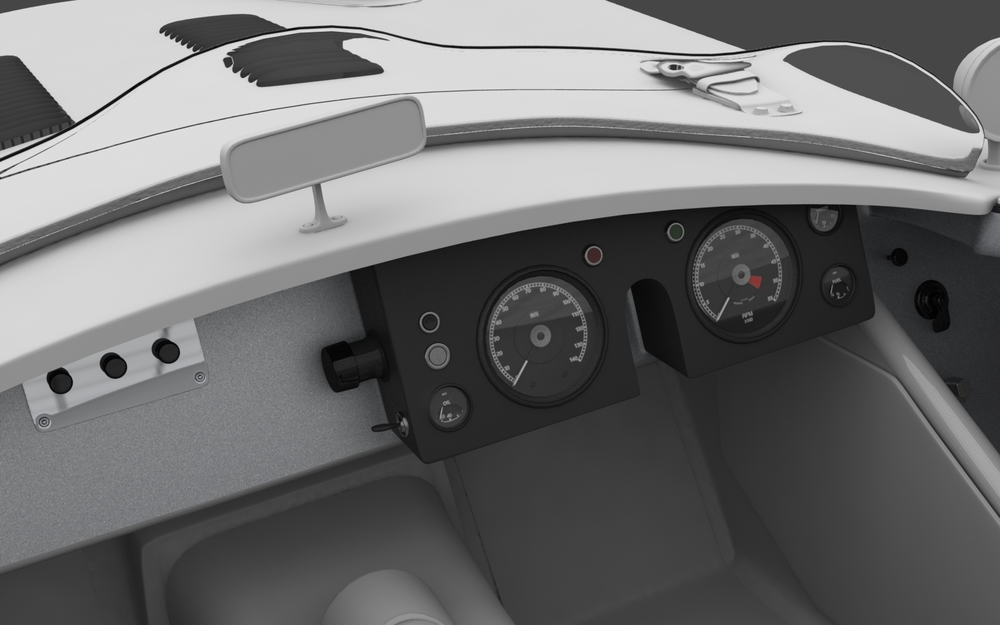
I have begun the texturing process, and the instrument panel comes first. This involves modeling the gauges in more detail, including the needles, and then recreating the gauge graphics in Adobe Illustrator, then pasting them into a Photoshop document that is indexed to a UV map of the instrument faces. At this point I'm not sure that the final rendered images will even include views that show the instruments in any detail, but the nice thing about 3D is that you can experiment quite a bit with that and I want to have such detail available. I could get quite a bit more detailed with the interior, but I think that this is sufficient… at least for now. Here are some images:
I'll begin UV mapping the bodywork soon, and then things will start to move ahead more quickly.
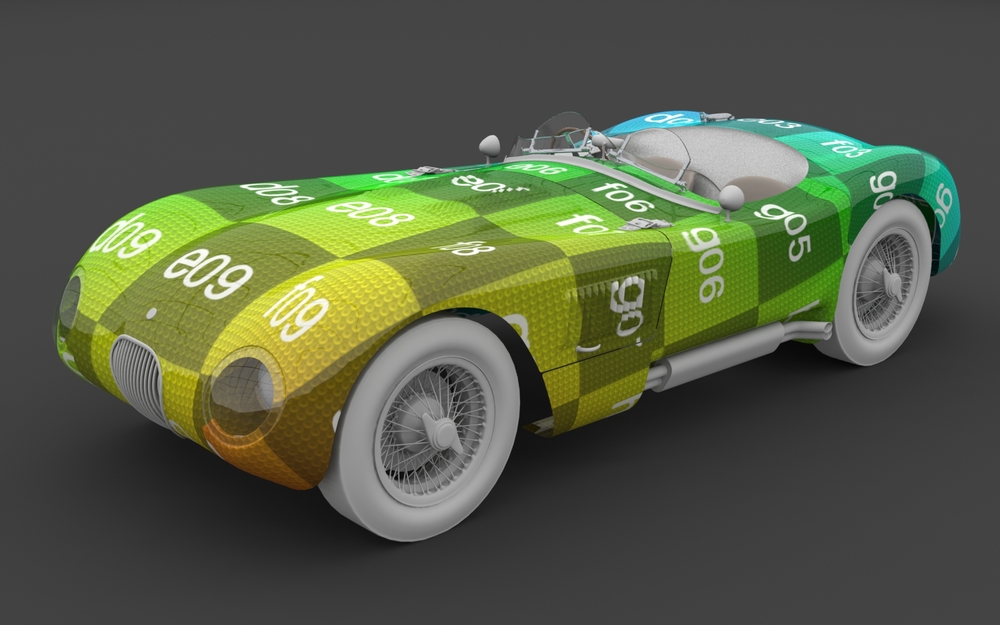
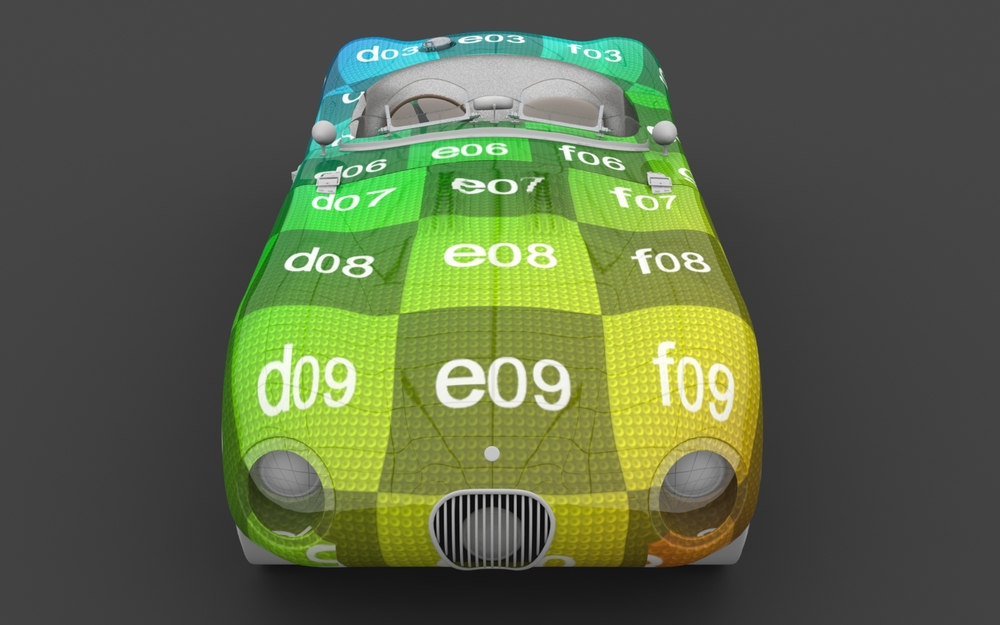
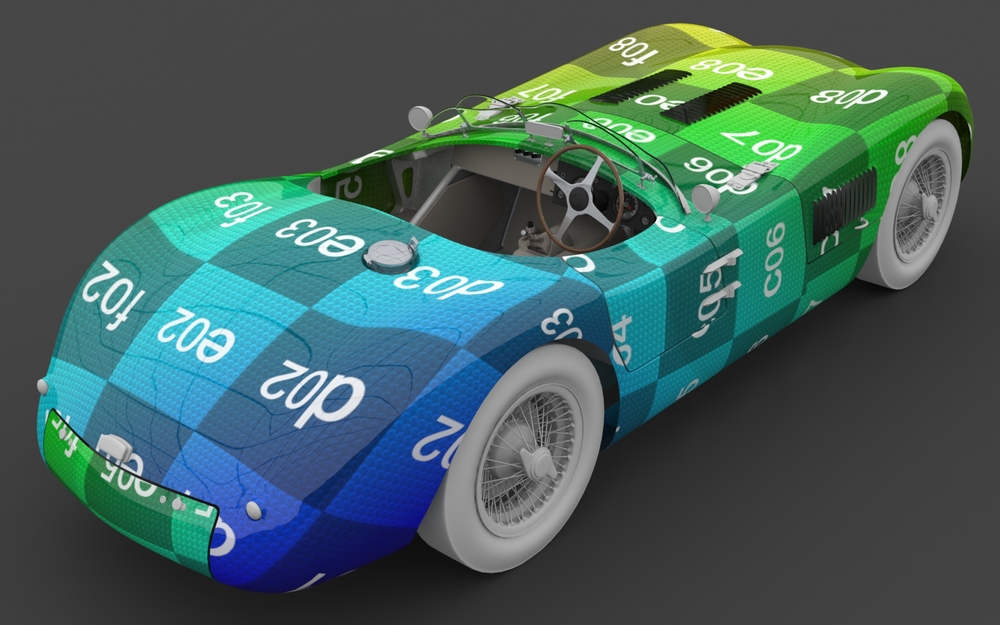
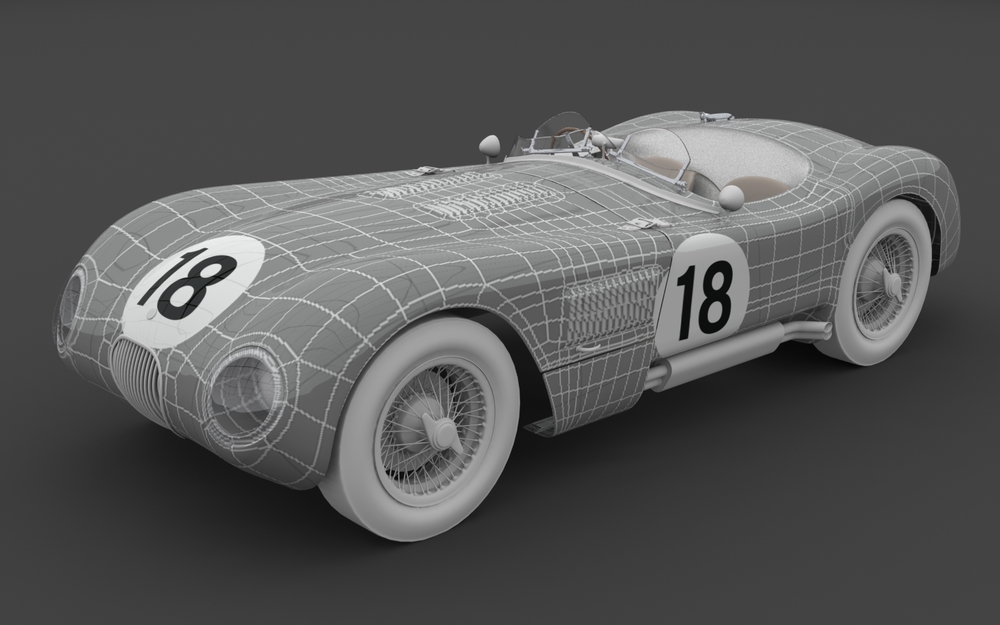
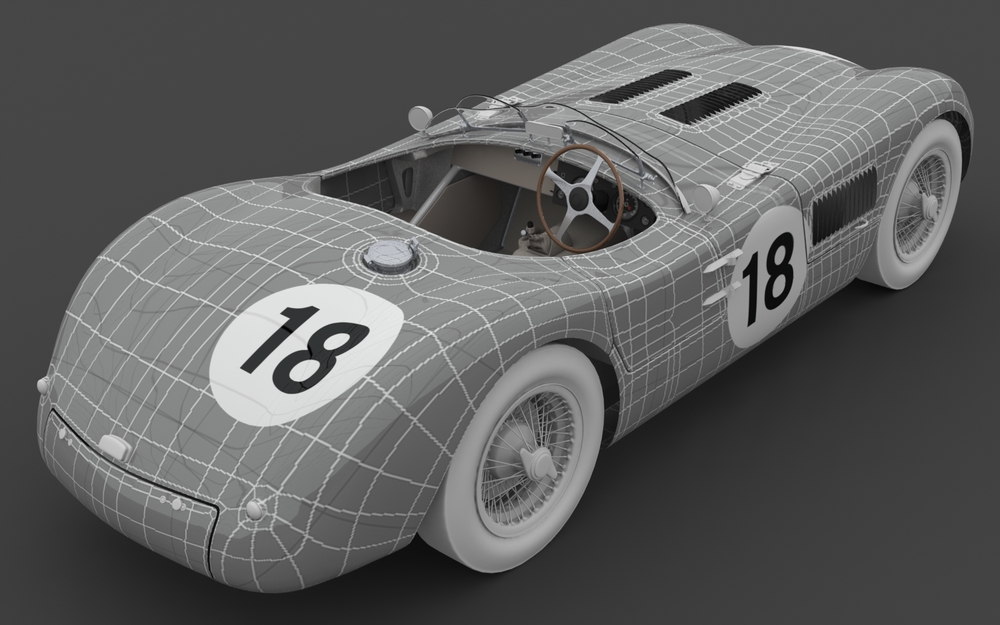
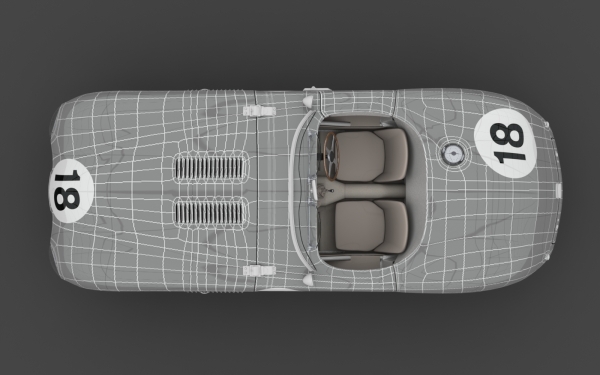
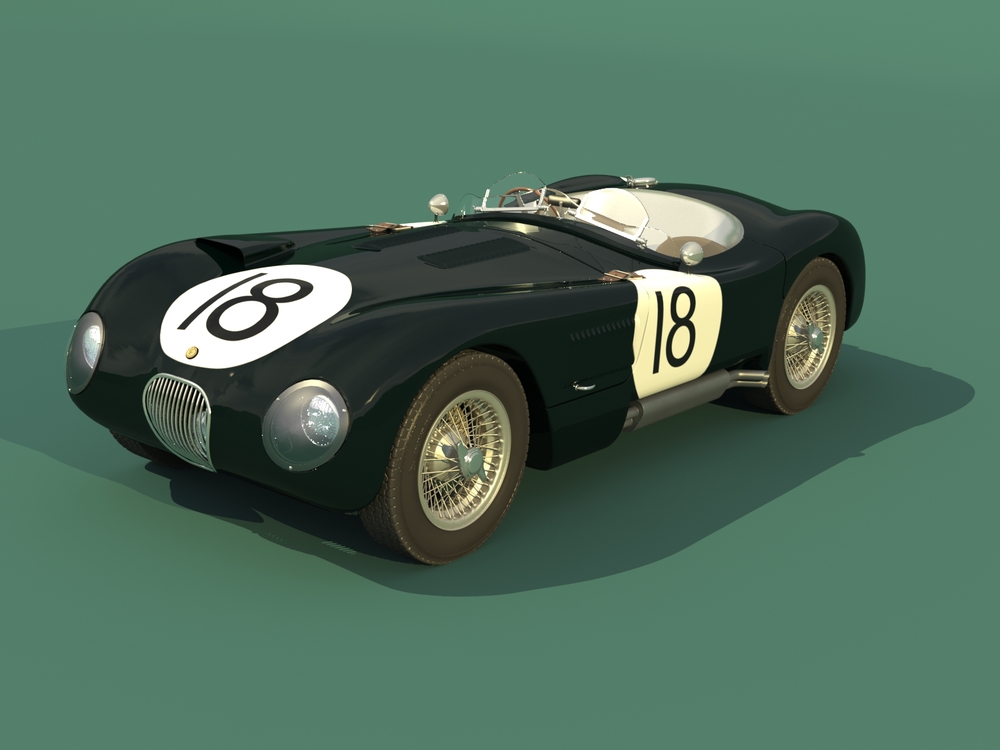
Well I'm getting into the texturing process a little deeper now and, the main challenge now that the instrument panel is out of the way is the bodywork. It wouldn't be a big deal, except that C-Type Jags, particular historic race cars, had four large white circles painted on them, and within these circles was painted the number for that racing car. Although this doesn't really amount to much, especially compared to modern-day racing cars which have logos and other graphics plastered all over, it's enough that I have to create a "UV map" of the body. The UV map serves as an index by which images can be applied, in a manner of speaking, to the surface of the bodywork. When projecting an image onto the bodywork (bodywork which is not flat!) you're bound to get distortion in the image. A UV map helps eliminate or minimize such distortion. One way that I can check and make sure my UV map does a reasonably good job at this is by applying a checkerboard-like image to the surface. The images which follow show this "UV-checker" material draped over the bodywork of the Jag and, well, it's pretty wild-looking. But this is only temporary!
There's a bit more waviness in the checker pattern than is ideal, but since there's not much in the way of graphics to be applied to this car, it's more than adequate. You can see little bit of distortion on the rear fender and around the louvers in the side of the front fender, really part of the bonnet.
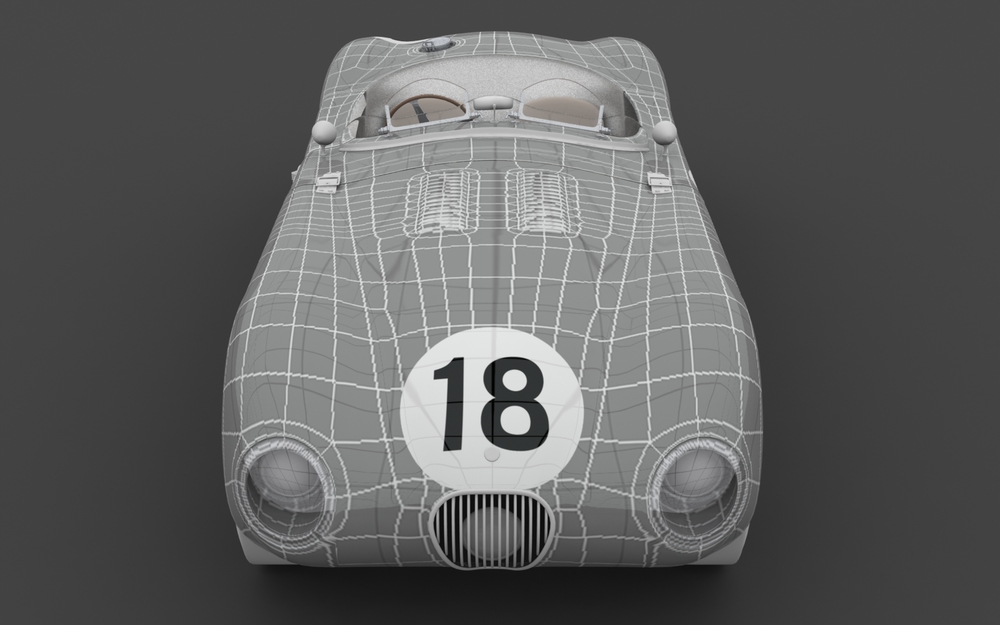
The following images apply the number graphics, but over the top of an image of the UV map itself. This shows off the wireframe that provides the form of the bodywork.
So that's it for now. It should really start coming together from here forward. I'll post more as soon as I'm able.
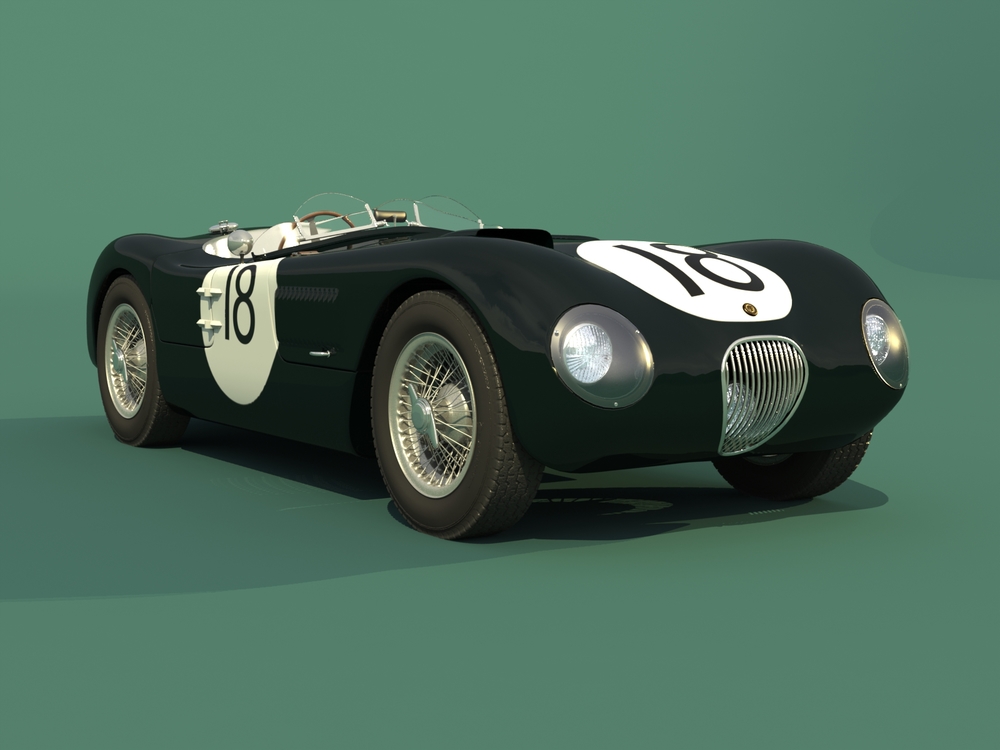
I'm getting very close to finishing this historic Jaguar C-Type. Here are some recent tests:
I'm a sports car fanatic. Especially Triumph sports cars, and especially Triumph TR6s. After all, I've owned one for more than twenty-five years. And what sports car fanatic isn't also a road racing fanatic? I'm guilty there, too. So a few years ago when I started to fiddle around with 3D modeling, I knew it was only a matter of time before I would use 3D modeling to create illustrations of the Group 44 Triumph TR6 that dominated SCCA C Production racing in the mid-70s, piloted by Bob Tullius. I finished that project a few months ago and decided to upload a few renders to my account at FineArtAmerica.com. As time goes by I will be adding more, not just of the Group 44 TR6, but also of other interesting cars and who knows what else.
You can see the available prints by clicking here. You can order prints there in a wide range of sizes, either framed or not framed. Canvas, archival paper, with or without a matte. They ship it right to you.
Take a look and see what you think!
Thank you for visiting the brand-new Dynamic Arts porfolio web site! I'd love to hear from anyone who has suggestions on how to improve the site, but I have to say I'm pretty happy with it.
I hope you like it as much as I do, and I hope to hear from you soon about the next commercial project I can help you with!


