I have a rather long list of interesting sports and historic racing cars that I'd love to create 3D illustrations of… one of those is the beautiful C-Type Jaguar from the early 50s. A while back I did begin such a project, but it was set aside for various reasons. Recently I've resurrected it and I will plan to offer prints of the images I render from it similar to the Group 44 TR6.
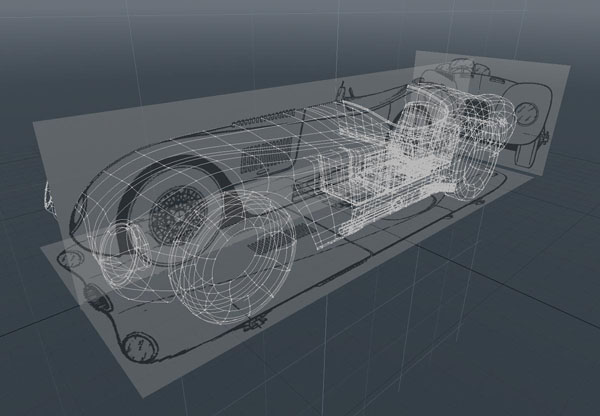
I've included an image below that shows a little of what this process is like… first I have to locate some reasonably good plan view drawings of the car. The Internet is a great resource, but it can fall short, too. For the C-type, I actually found a couple of good reference drawings.
These drawings are scaled carefully and then imported as backdrop images into the 3D space and arranged appropriately. And then the fun begins!
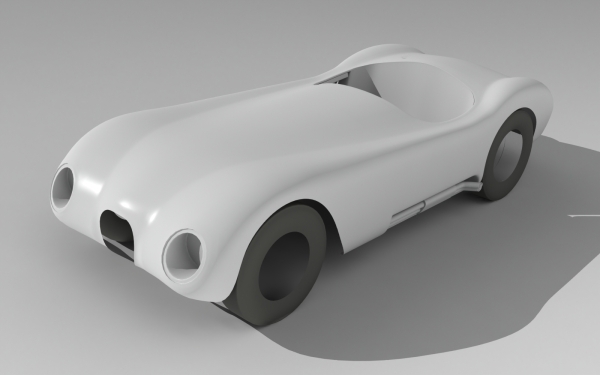
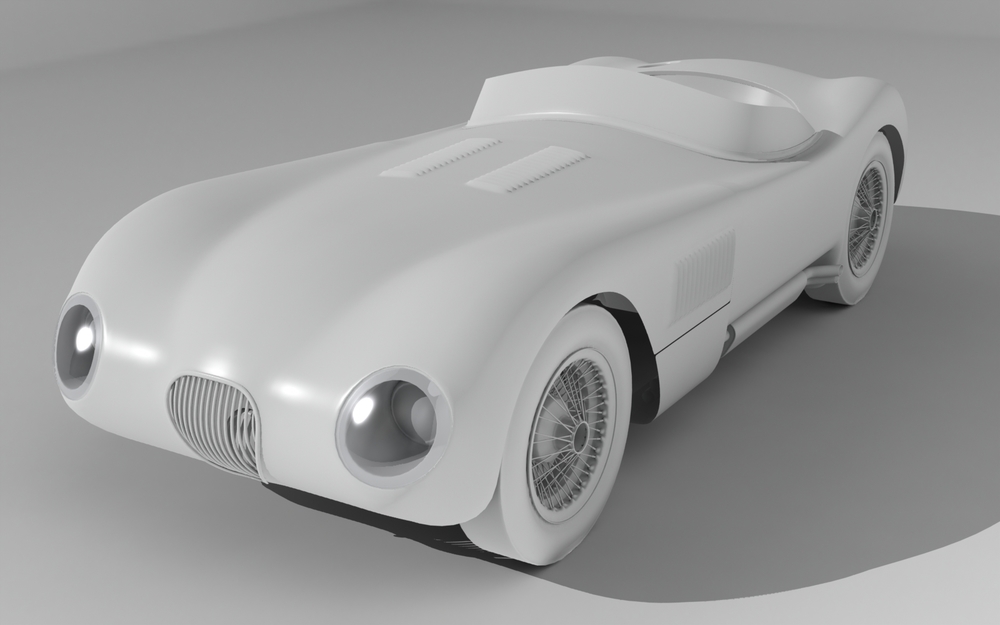
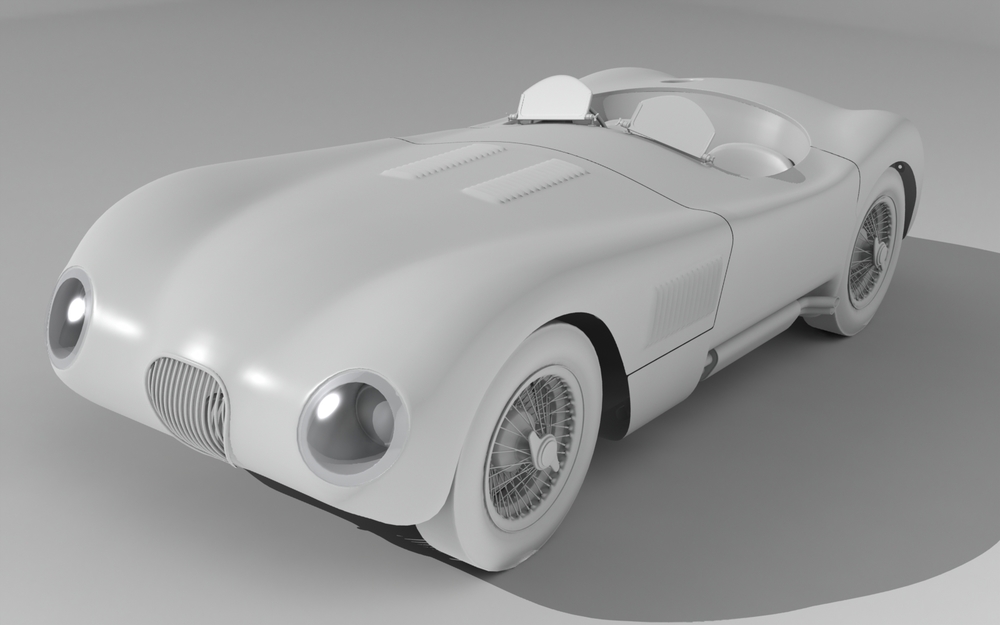
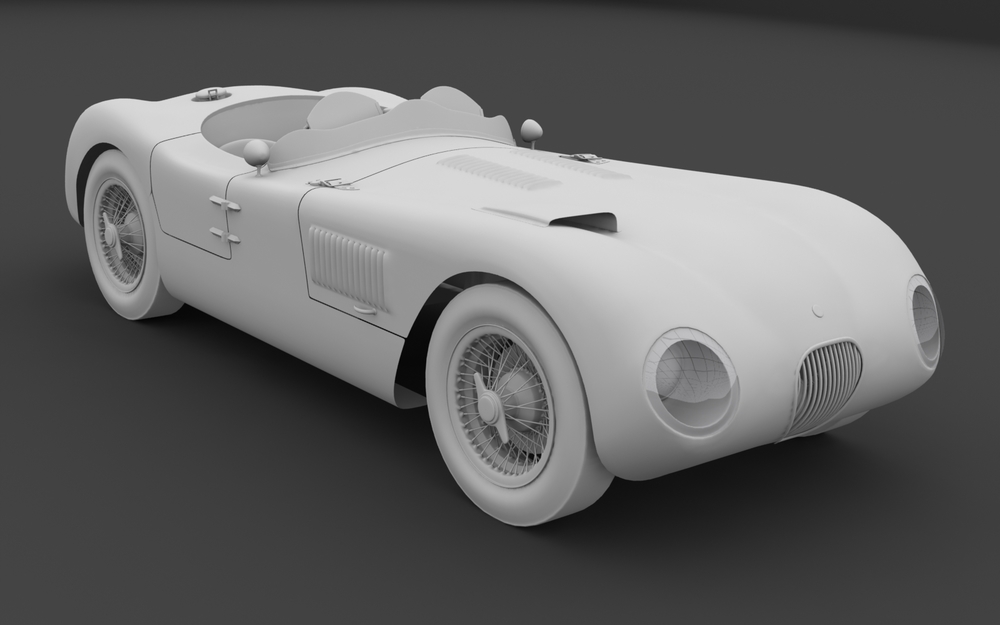
And here are a few early test renders of the Jag:
I don't expect to move to rapidly through this project, as I do have commercial projects I'm working on. But I'll post updates periodically!
Thank you for visiting!
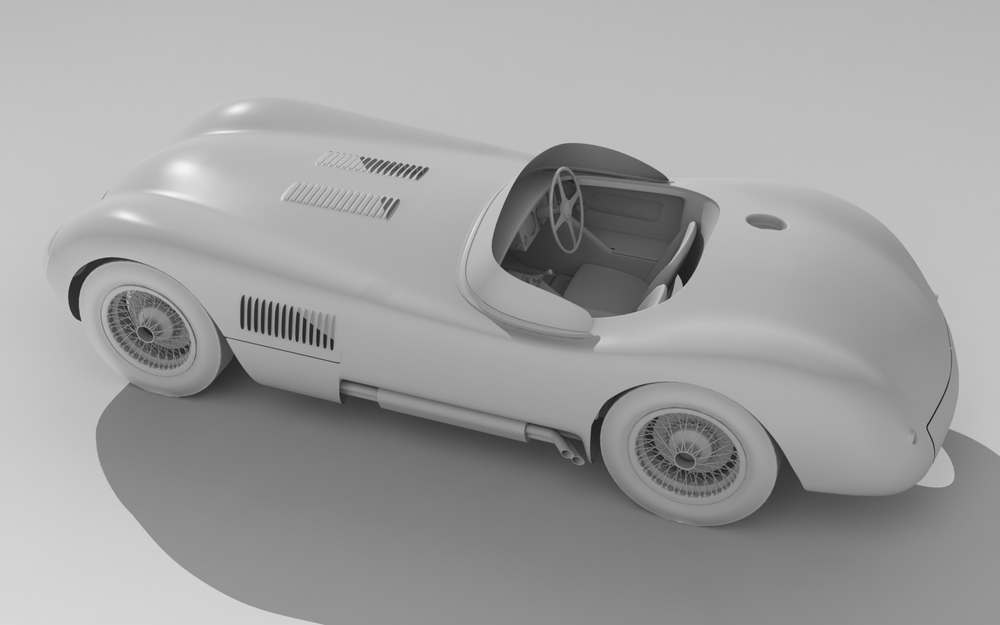
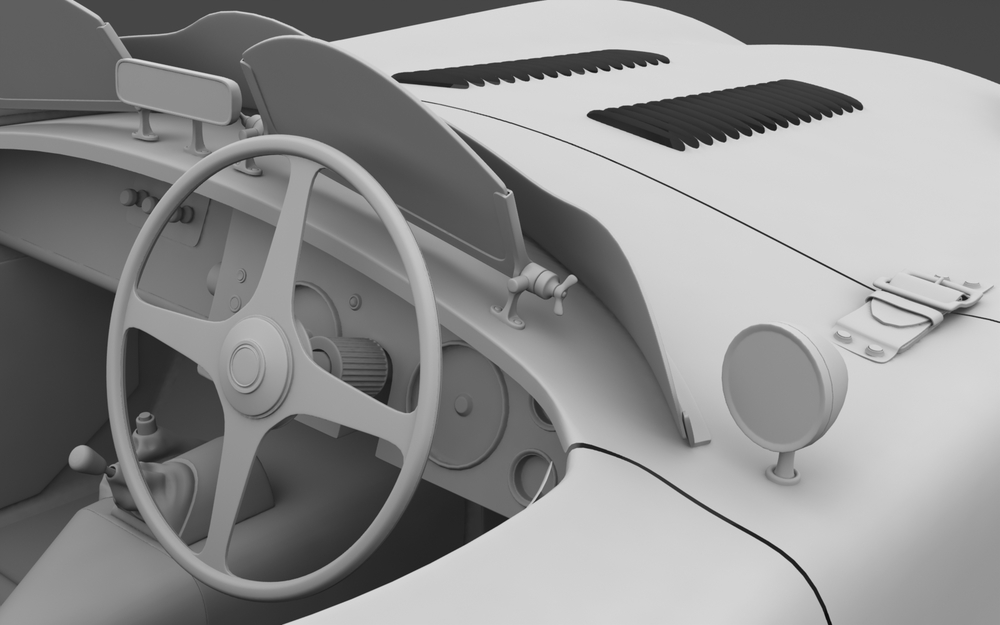
I was able to spent some time over the weekend to get some things accomplished here on the Jaguar C-Type model. The louvers in the bonnet were a challenge, but I think I've really got the bodywork nailed at this point.
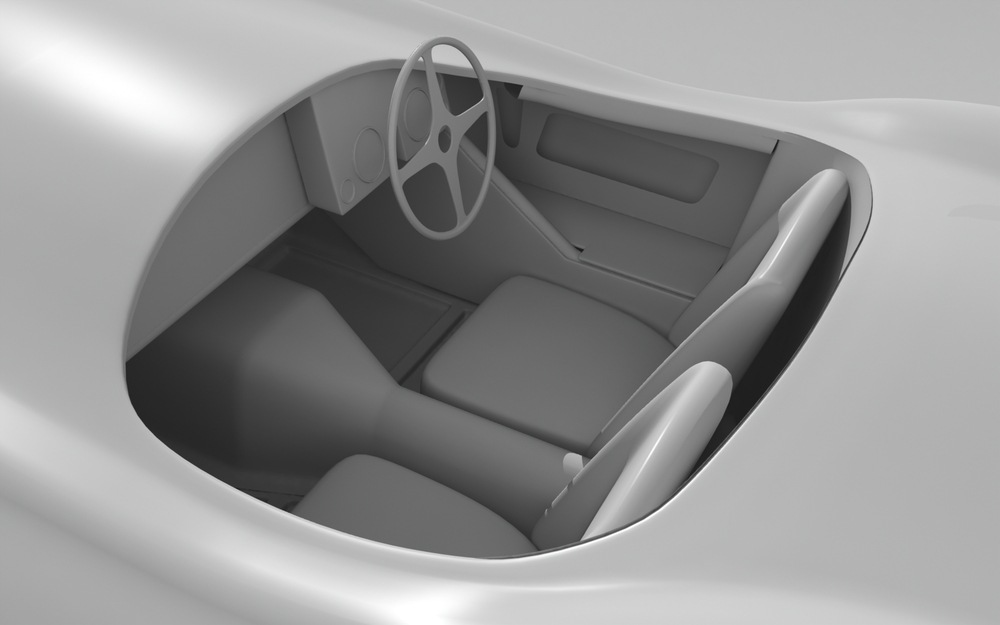
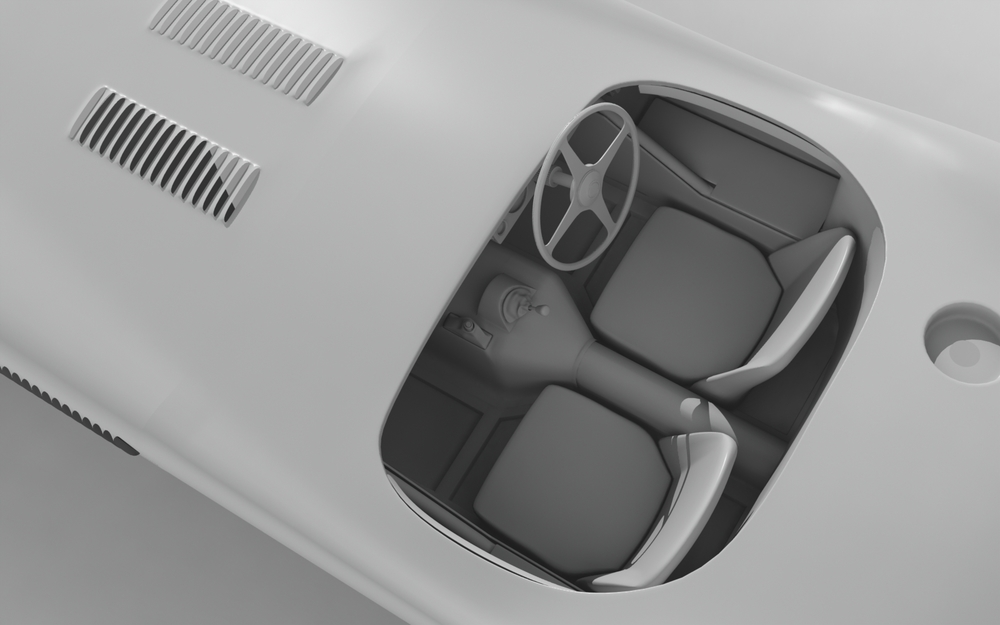
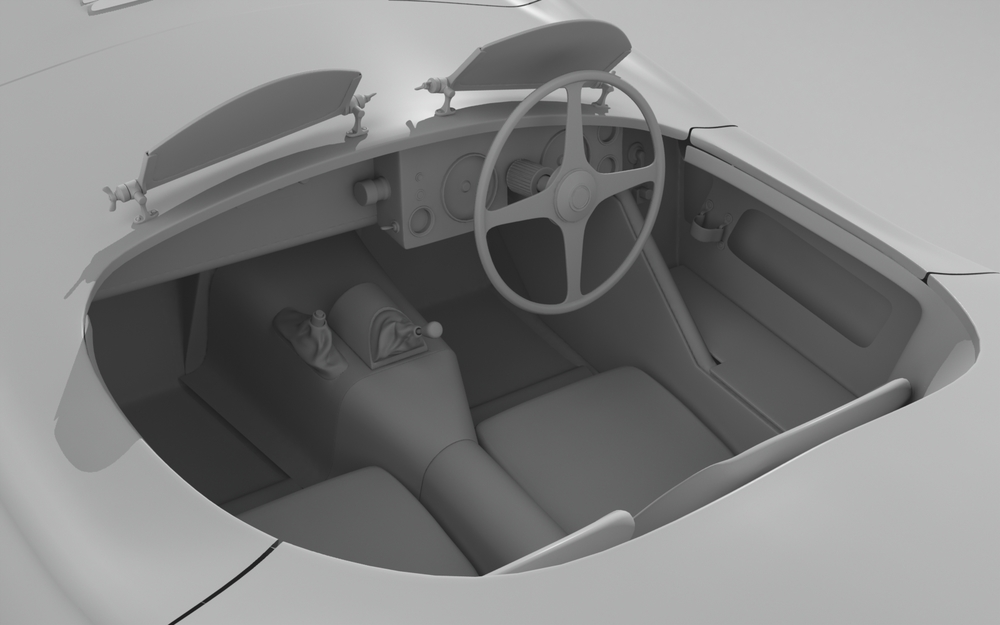
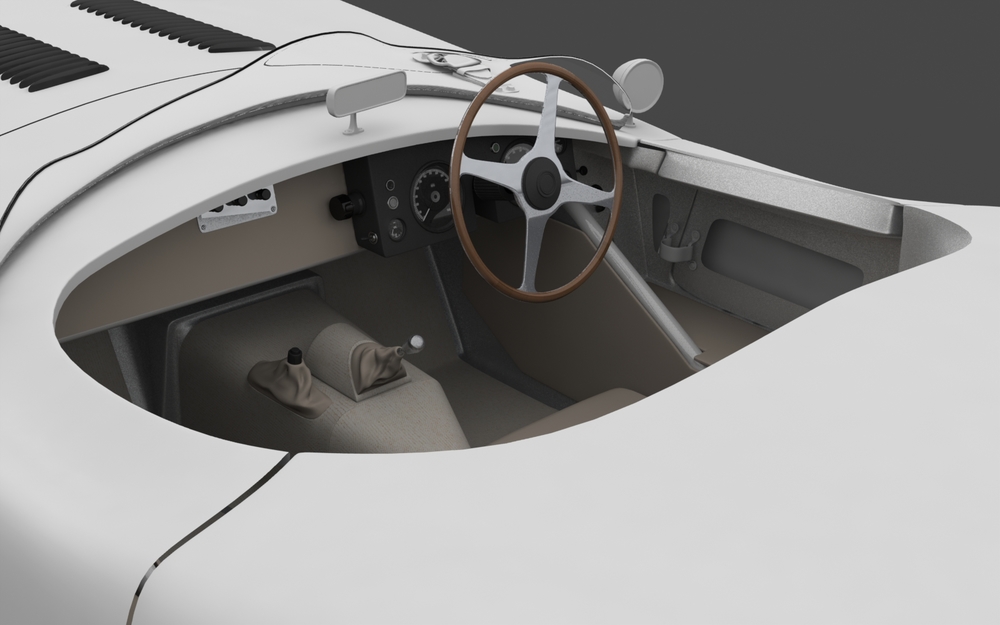
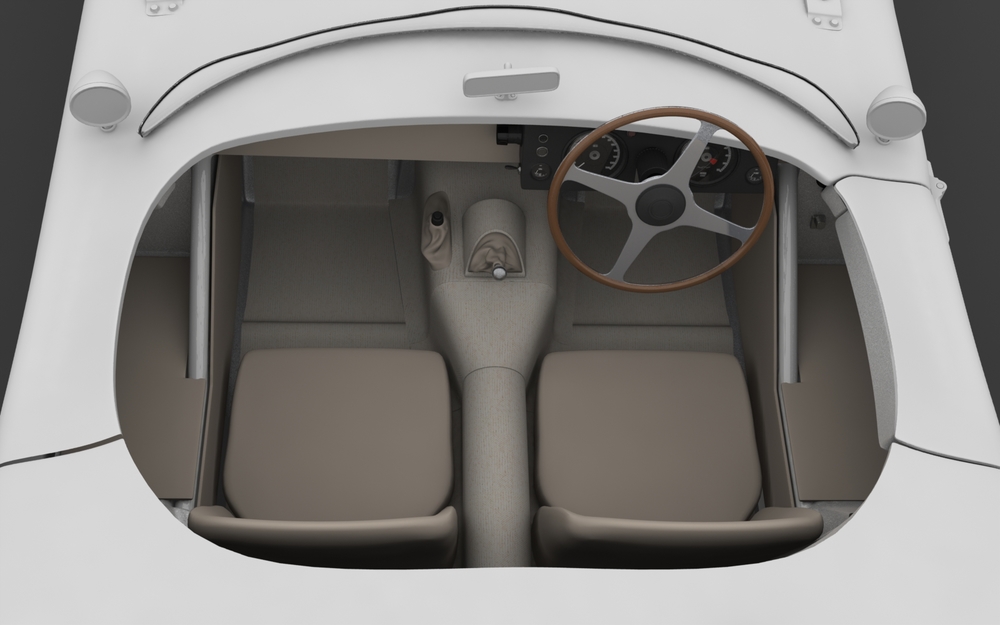
I also added a fair amount of detail in the cockpit of the Jag, so it's coming along nicely.
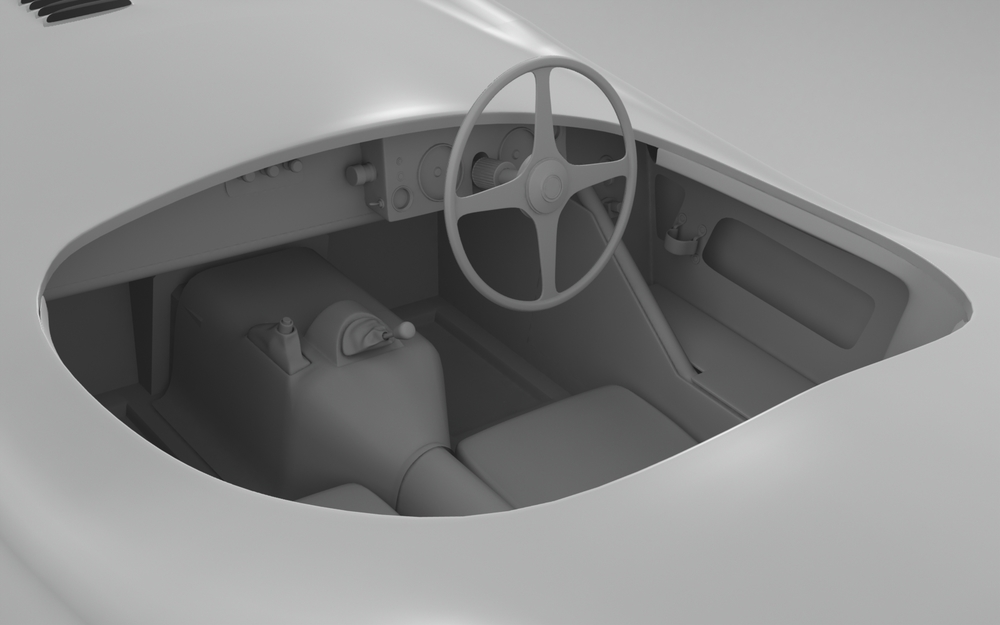
Part of that was reworking the seats. Many details remain, of course. And then comes UV mapping and texturing.
I'm pushing ahead slowly on the Jag, mostly making refinements now to some interior features. But I'm also starting to goof around with the windscreen. From the research I've done, it turns out there are as many windscreen configurations on Jag C-Types as there are Jag C-Types. Many have the old Brooklands-style windscreen--either a single in front of the driver or a pair--mounted on the cowl. So, I figure I can't go wrong with that. It's also common that they have a second windscreen used in addition to the Brooklands screens… not sure if I'll go that route or not at this point. Here's a couple more images:
These first renders show a single wrap-around windscreen, which looks pretty cool.
But there's something about those Brooklands-style windscreens:
I still need to tackle the fuel filler cap, and that'll be no small task. But I did add all the shut lines in the bodywork, which is always kind of a pain. I'll most more as I go along!
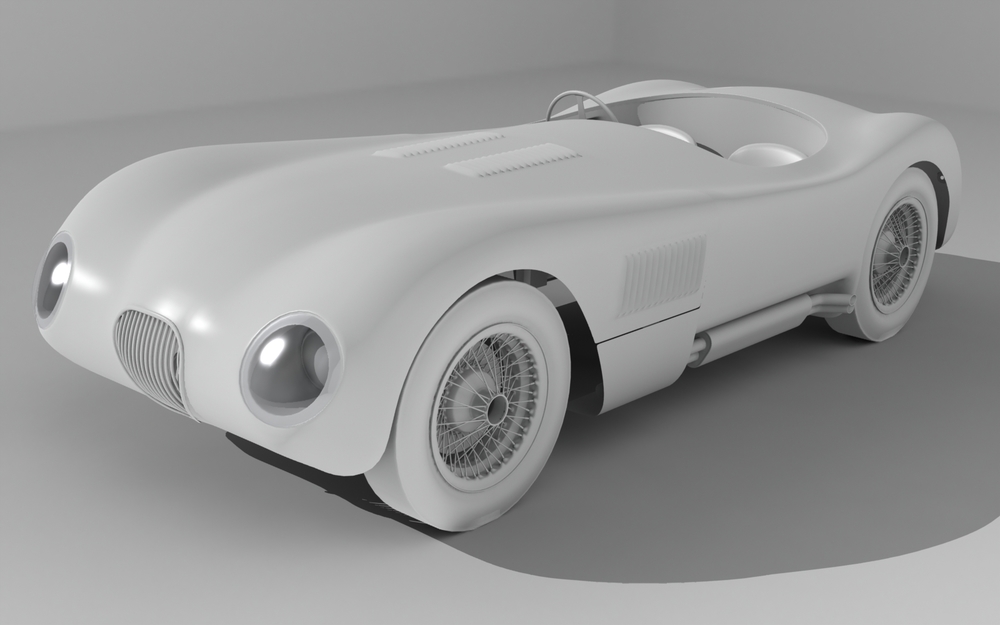
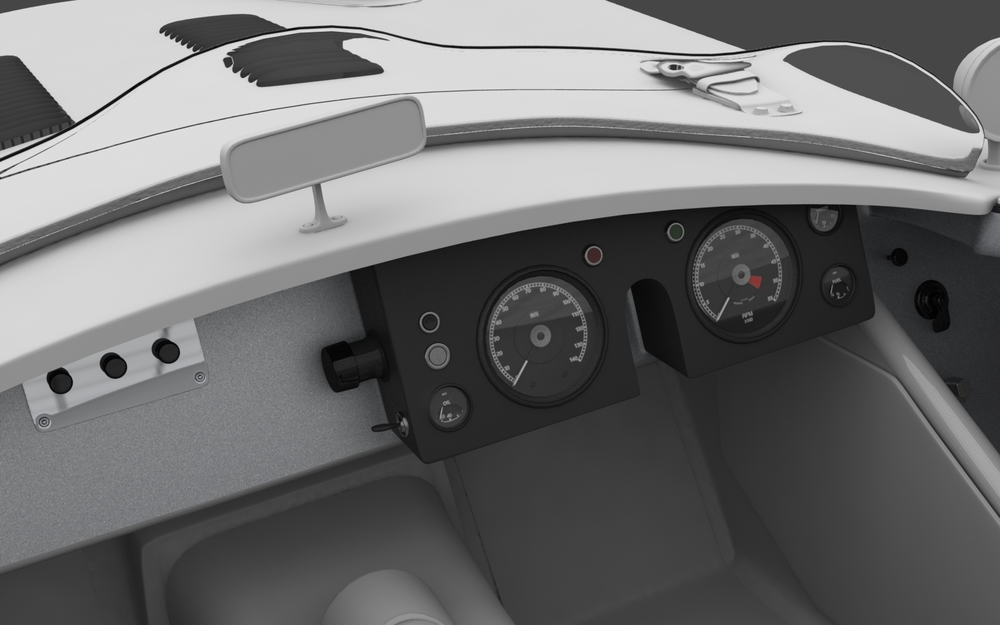
I've been able to make a fair amount of progress on this Jag model. At this point all the exterior details are complete. It's time to zoom in, I think, on the instrument cluster and start creating the graphics for the dial faces.
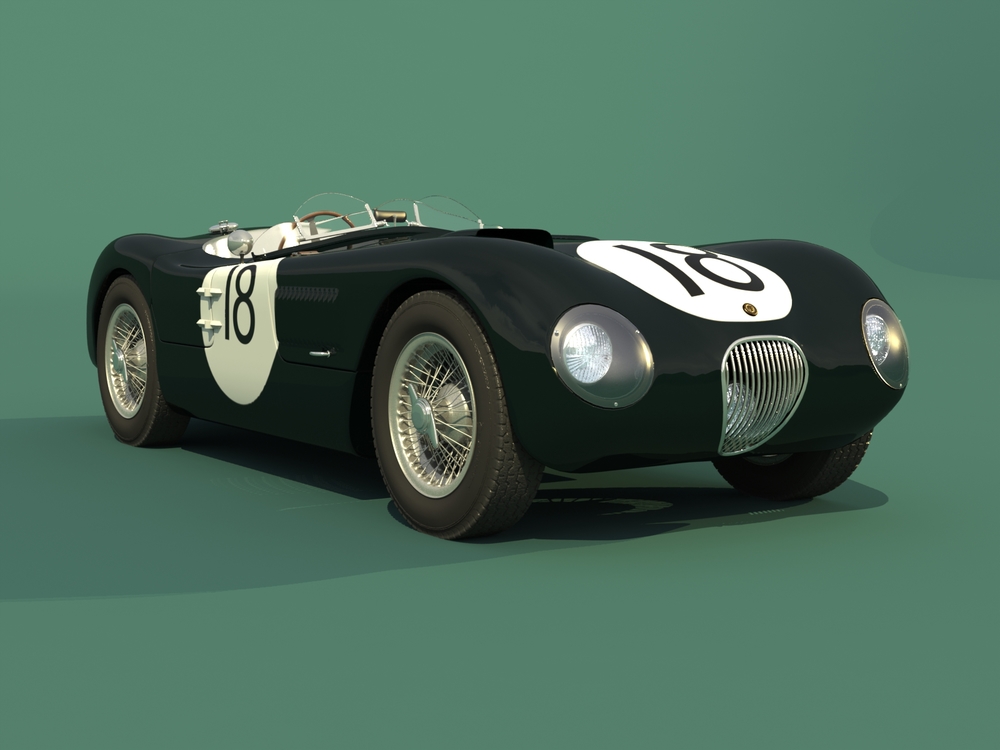
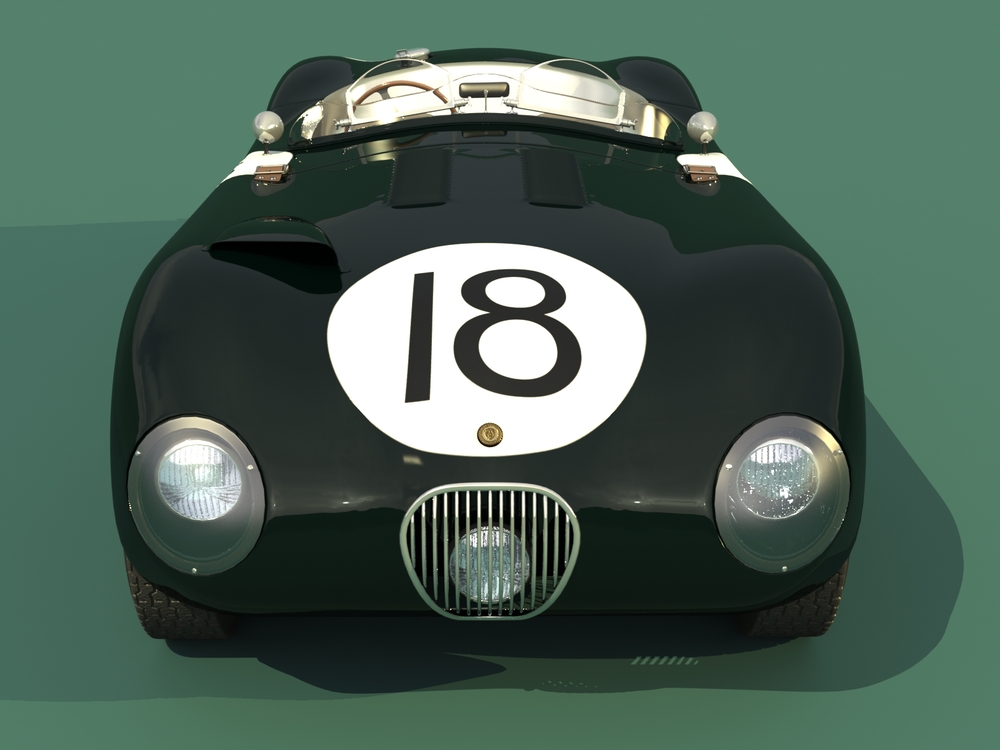
Big leather straps with buckles serve to hold the bonnet closed on the Jag C-Type. And I've decided add in the single-piece windscreen so common on C-Types in addition to the Brooklands-style screens.
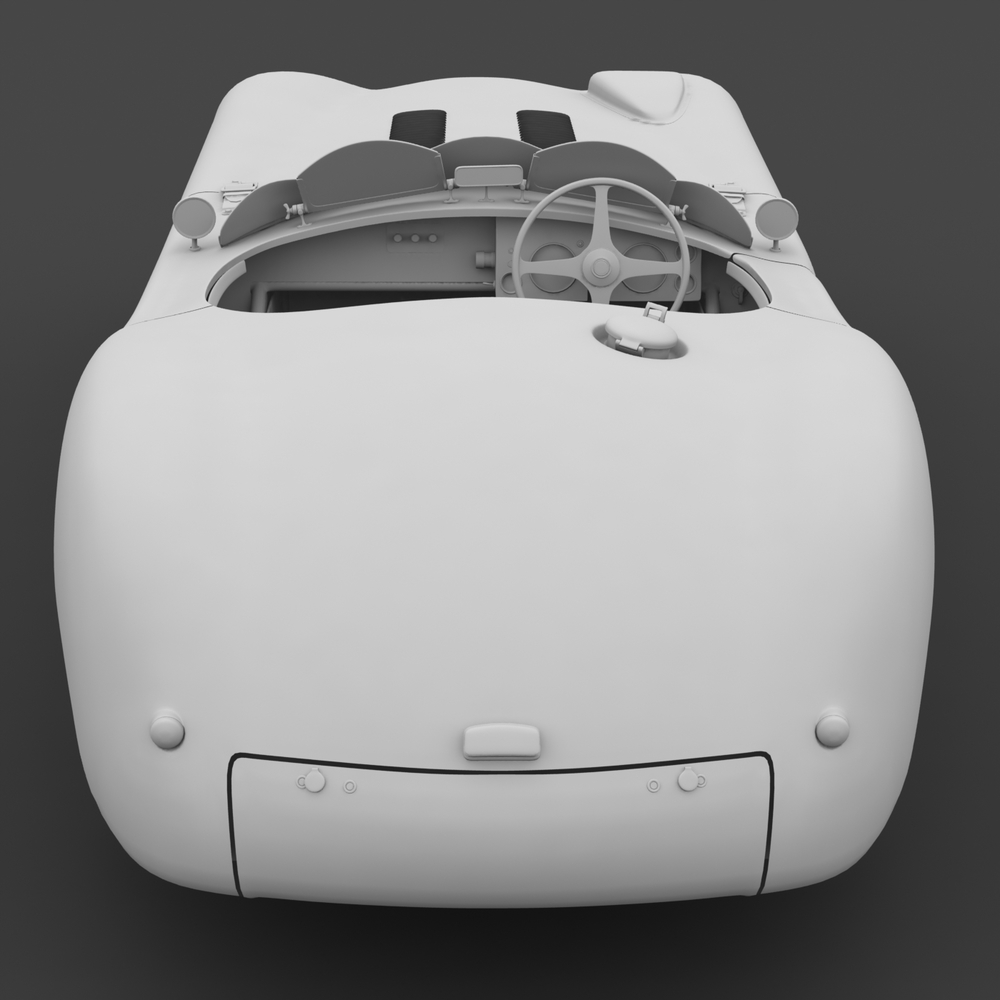
These cars are incredibly slippery-looking, front either front or rear.

I added door hinges on this side… no door on the other side. But this side lacks the big cut-out for the exhaust pipes. I also added the bonnet lift handles, just below the louvers on the side.
That does it for this update. Might be a few days before I can post anything substantial again.
I have begun the texturing process, and the instrument panel comes first. This involves modeling the gauges in more detail, including the needles, and then recreating the gauge graphics in Adobe Illustrator, then pasting them into a Photoshop document that is indexed to a UV map of the instrument faces. At this point I'm not sure that the final rendered images will even include views that show the instruments in any detail, but the nice thing about 3D is that you can experiment quite a bit with that and I want to have such detail available. I could get quite a bit more detailed with the interior, but I think that this is sufficient… at least for now. Here are some images:
I'll begin UV mapping the bodywork soon, and then things will start to move ahead more quickly.
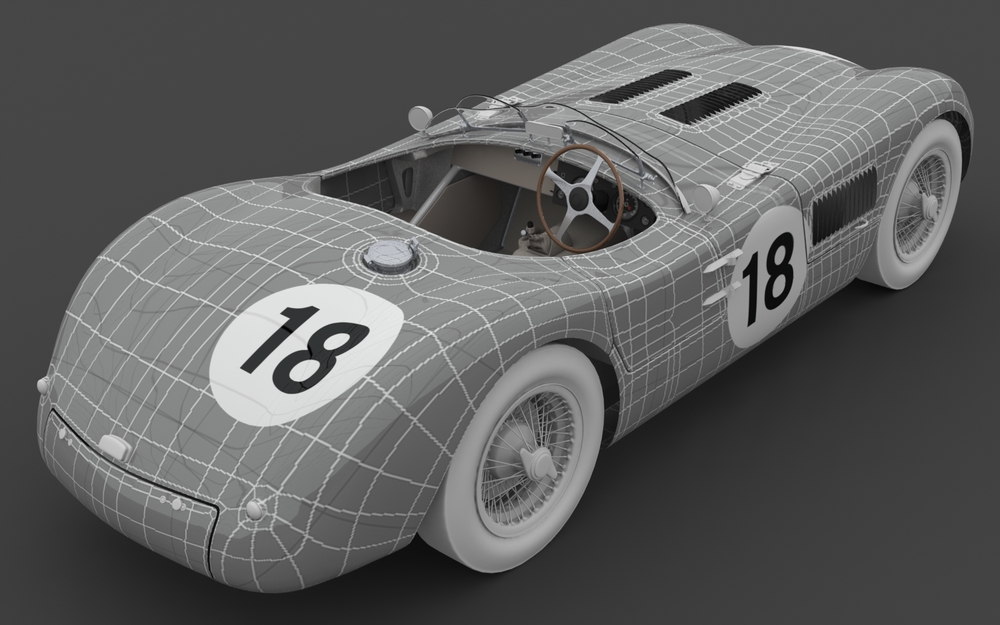
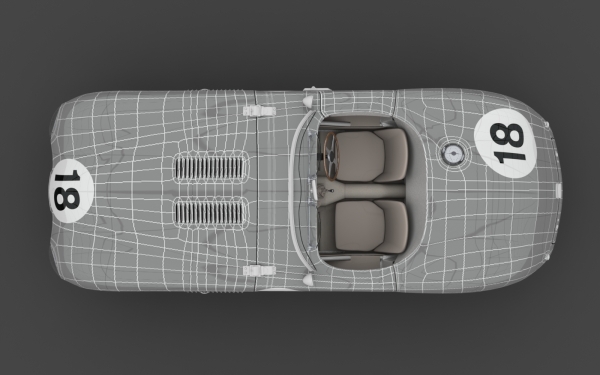
Well I'm getting into the texturing process a little deeper now and, the main challenge now that the instrument panel is out of the way is the bodywork. It wouldn't be a big deal, except that C-Type Jags, particular historic race cars, had four large white circles painted on them, and within these circles was painted the number for that racing car. Although this doesn't really amount to much, especially compared to modern-day racing cars which have logos and other graphics plastered all over, it's enough that I have to create a "UV map" of the body. The UV map serves as an index by which images can be applied, in a manner of speaking, to the surface of the bodywork. When projecting an image onto the bodywork (bodywork which is not flat!) you're bound to get distortion in the image. A UV map helps eliminate or minimize such distortion. One way that I can check and make sure my UV map does a reasonably good job at this is by applying a checkerboard-like image to the surface. The images which follow show this "UV-checker" material draped over the bodywork of the Jag and, well, it's pretty wild-looking. But this is only temporary!
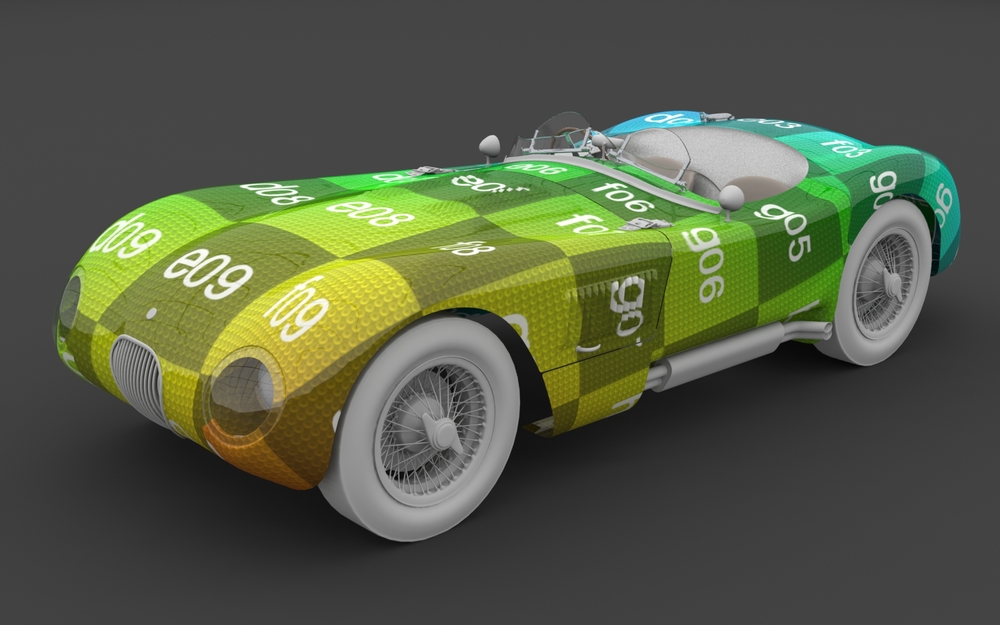
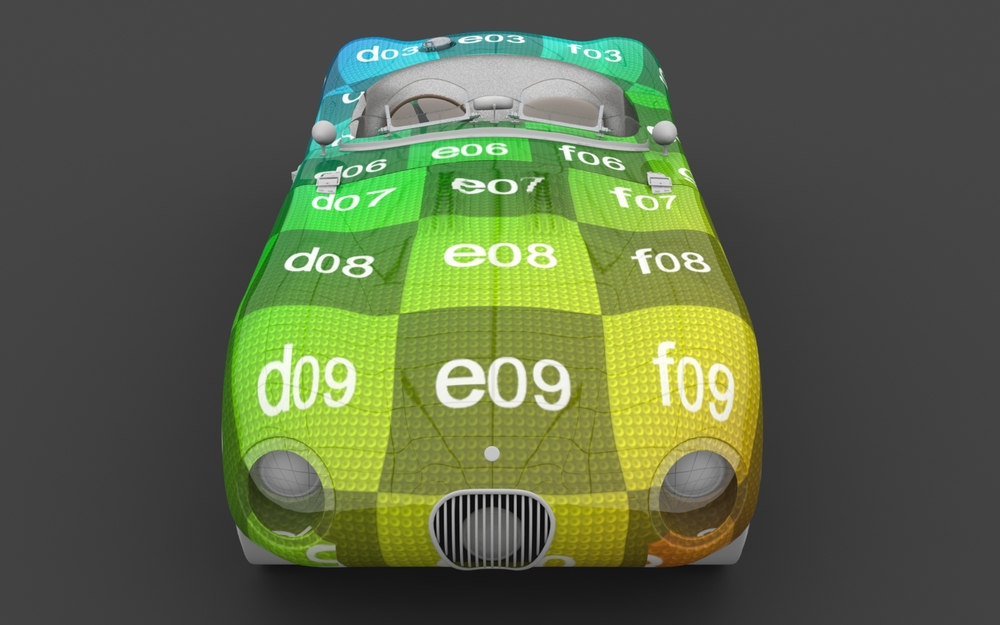
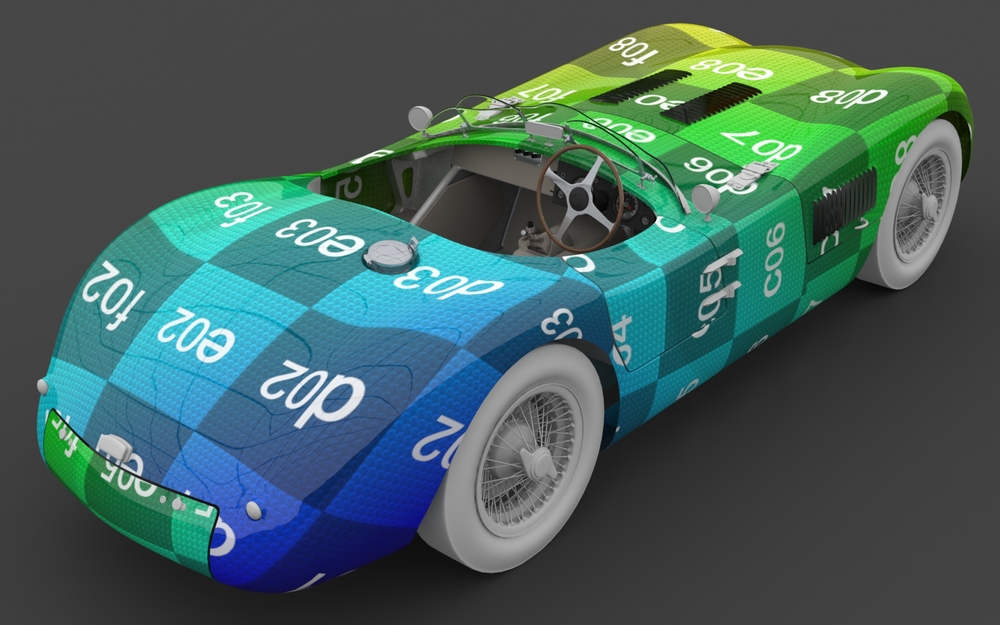
There's a bit more waviness in the checker pattern than is ideal, but since there's not much in the way of graphics to be applied to this car, it's more than adequate. You can see little bit of distortion on the rear fender and around the louvers in the side of the front fender, really part of the bonnet.
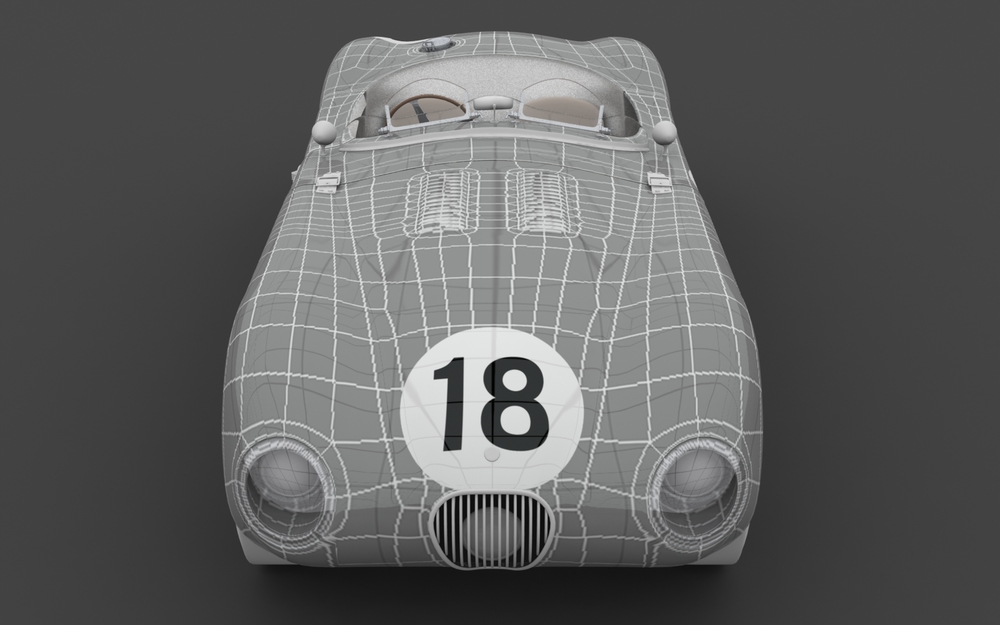
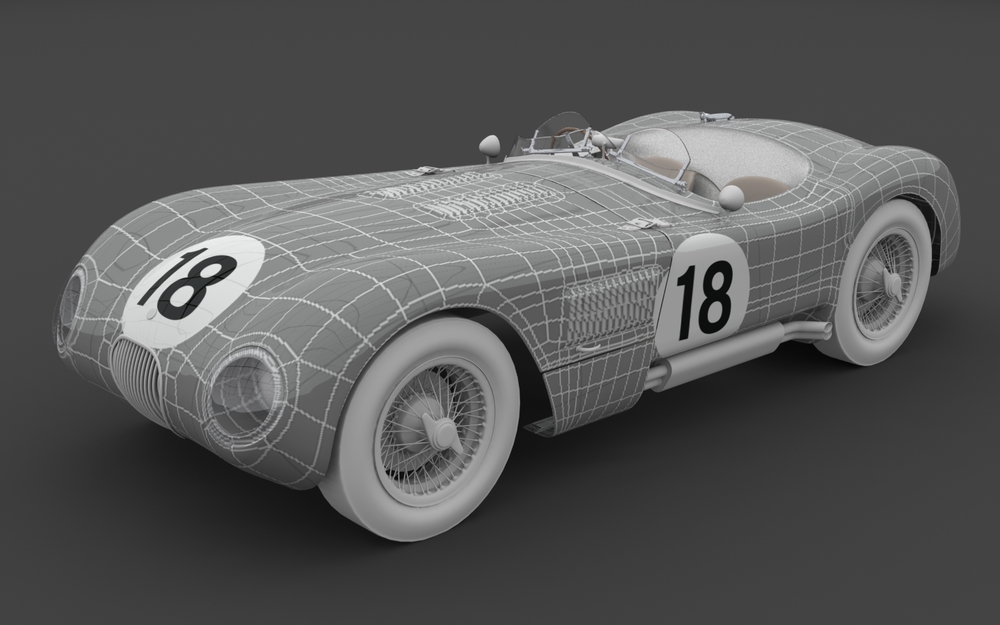
The following images apply the number graphics, but over the top of an image of the UV map itself. This shows off the wireframe that provides the form of the bodywork.
So that's it for now. It should really start coming together from here forward. I'll post more as soon as I'm able.
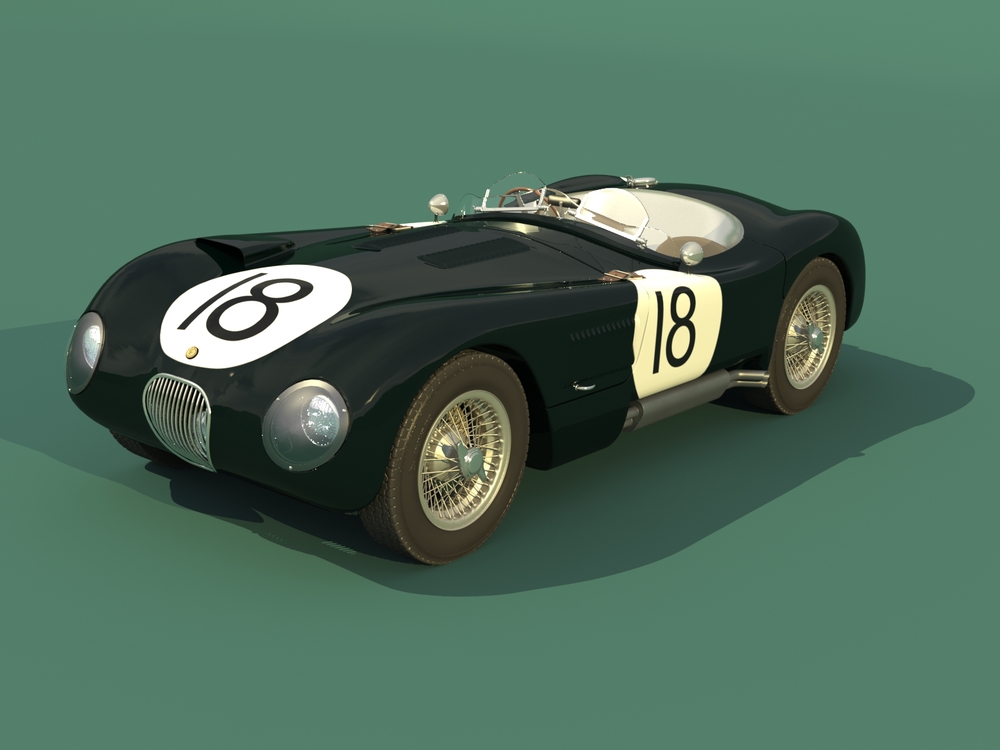
I'm getting very close to finishing this historic Jaguar C-Type. Here are some recent tests: